17 Dos and Don’ts for Capturing Your Amazing Group Photo
As we head into summer and the season of family reunions and gatherings, many of you may be looking to take a group photo and want some photography tips.
I come from a large family where taking photos of our gang is never a simple task!
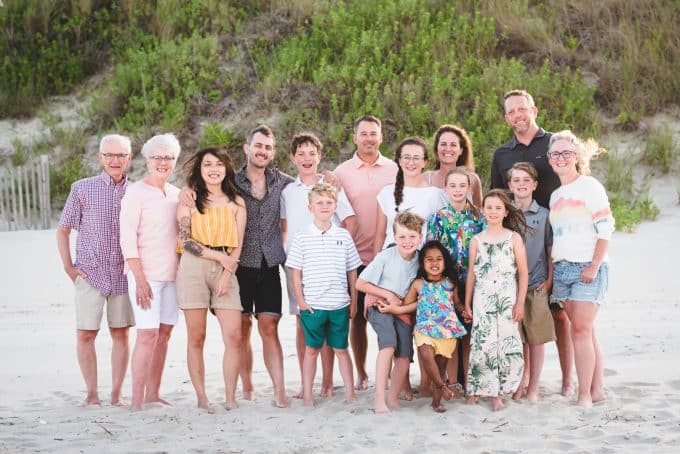
Over the years I have been the designated photographer for our family reunions.
I just returned from our reunion in Southern Utah and wanted to share the photography tips I learned while taking our group photos.
Here’s some dos and don’ts for awesome group photos.
Mục Lục
DOs for Your Large Group Photos
Do bring along your tripod and a handheld remote to group photo
This is especially important if you plan to be in the group portrait.
A remote is much easier than using your self-timer on your camera because you can take multiple images (set your camera to continuous shooting mode.)
You can take the photos one after another, rather than running back and forth and trying to time it just right. A tripod also gives everyone a central place to look.
Do use a wide-angle lens for your group photo
Next, consider a wide-angle lens. This will make it easier to fit everyone in the shot without having to place your tripod too far away.
The closer you can get to the group, the more detail you will have in faces.
Just for you all about lenses!
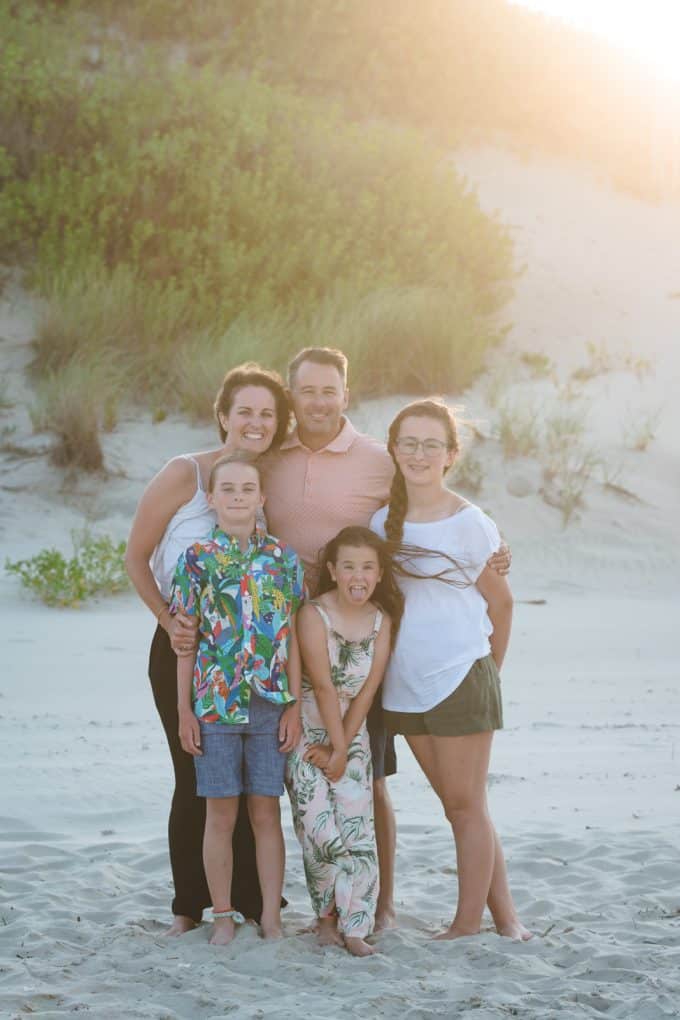
Do plan ahead
Do scope out a location ahead of time and bring props like chairs or stools for level changes.
A location with natural level changes like rocks or a hill is always good too. (For my family photo this year we couldn’t bring props because we were all traveling.)
Do choose a location that will not distract from the people in the group photo
There’s already a lot going on with that many faces in the photo. A vast open landscape like a field or a meadow with no houses or buildings in the background is great.
For weddings and events look for an area with the fewest distractions and the most even natural lighting.
When choosing your location, consider what your lighting will be like during the time of your group photo.
For our family shot the sun had just set behind the mountain in front of us, which left us with nice open shade and indirect light as we faced the setting sun.
Sometimes it’s also great to place the group in their context, like a sports team on the field, hikers in the mountains, or in our case, the red mountains of Southern Utah symbolized home to us all, since that is where most of my family was raised.
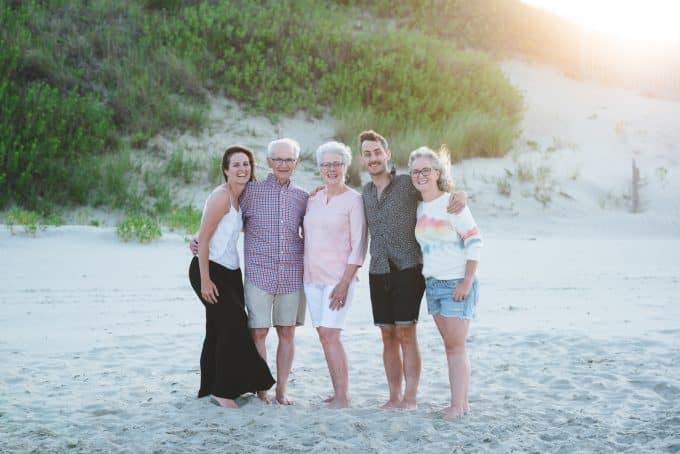
Do shoot group photos in the evening and in the shade
This will prevent your group from squinting into the sun. You can avoid those crazy shadows under the eyes and nose by not shooting when the sun is overhead.
Golden hour is just before sunset is soft and warm and much more flattering. If you have no control over time of day, seek open shade.
If it’s getting late or if the sun is behind your group, use a flash.
Do set your aperture at f8 or higher for a large group photo
You want to get everyone’s faces in focus. Therefore, using a smaller f-stop will help make sure everyone is in focus.
Read more: Simple Guide to Understanding Aperture (and How to Use it)
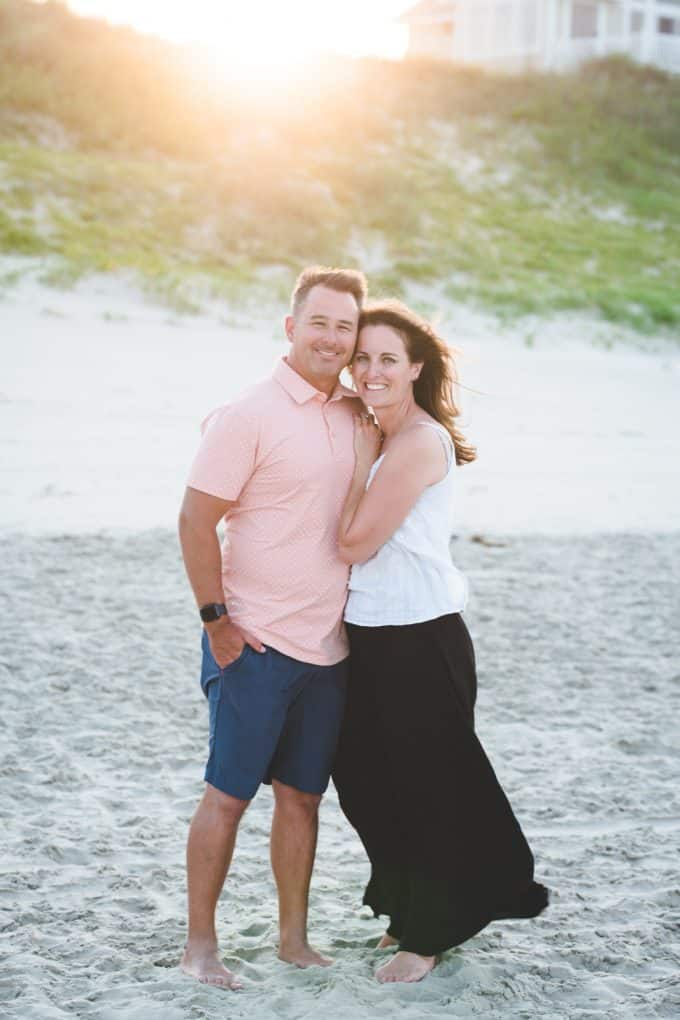
Do take multiple shots for group photos
You can swap heads in Photoshop if you need to, or simply to have more images to choose from.
When you take group photos you most definitely will have some people looking off, blinking, looking at each other, or kids wiggling/making silly faces.
It’s nice to have a variety of shots to choose from to find the best head or set of non-wandering eyes to use for the final image.
Do have everyone wear solid colors
This will help make sure the attention is drawn to the faces, not the clothing.
Tell your group to stay away from big logos and bold stripes as well.
Picking out family photo outfits can be a challenge. Just always remember less is more when in comes to group photo outfit planning!
Do make sure every head is showing in group photos
Tell them, “If you can’t see me, I can’t see you!” And make sure complete heads are showing, not just eyes.
Also keep an eye out for shadows on peoples faces. Sometimes ahead will cast a shadow behind and make the person behind them have a shadow on their face.
Do group people according to families and/or couples into small groups
Make sure everyone is standing near his or her family members. This makes it easier for Grandma to show off her posterity in family groupings, rather than trying to find who belongs to whom.
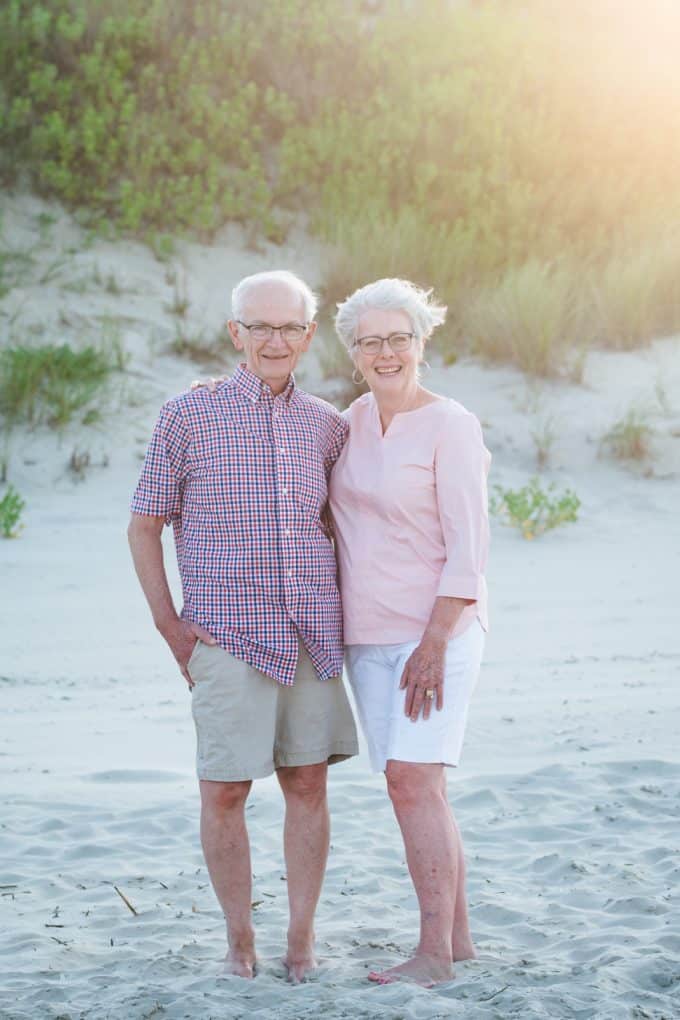
And if the event is centered around one or two people, put them in the center of the group. I put my parents in the center, since this was a shot of their posterity!
Do remember to shoot some close ups too!
Mix it up and do some fun, huggy type close ups along with your longer distance shots if you are shooting individual families or smaller groups.
Do trade a silly photo for a serious photo
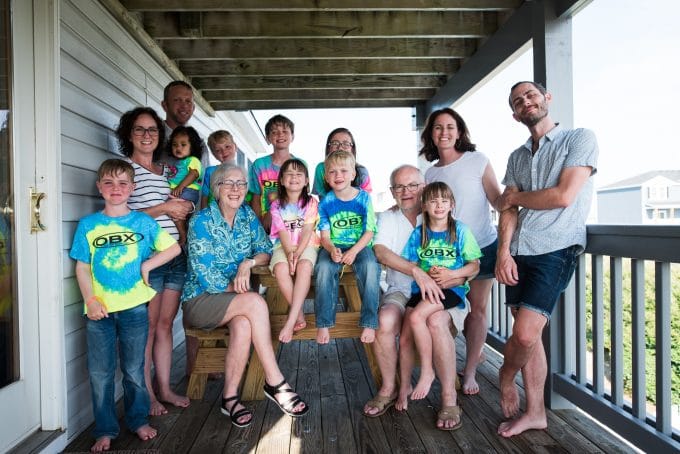
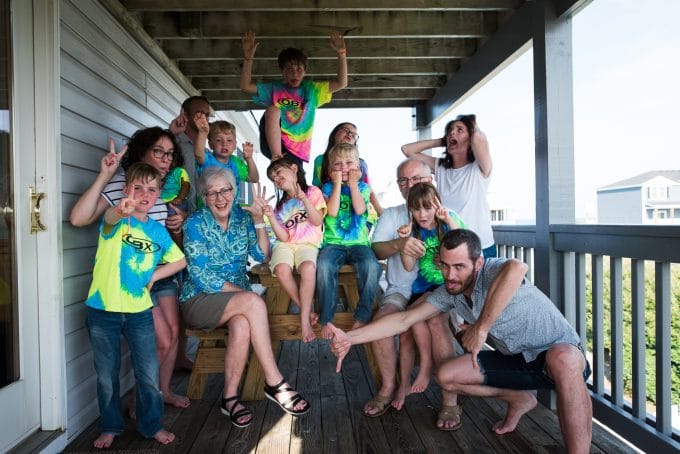
When you involve children in the group photo they most likely want to make silly faces. Consider “trading” a silly photo for a serious one.
What you can do is say, how about we take one nice photo and then we will take a handful of silly ones. The kids love this!
DO NOTs for Group Photos
Do not take a long time posing everyone, and be cheerful!
You will lose their attention and cooperation if you are flustered and take too long with large group photos. Dads and kids generally don’t like family pictures (mine don’t anyways!)
Keep them focused by being fast with the whole process. You can do this by pre-planning posing for the amount of people you are shooting.
Next, don’t be afraid to take charge, communicate what you want, but remain relaxed.
Remember, if you are relaxed and having fun, your group will be as well!
Do not shoot heads in the horizon line in group photos
Hard lesson learned with my family this year. I did two of my sibling’s families this way before I realized it was harder to see their faces with the busy mountains going through their heads!
Either shoot from below your group and put their heads in the sky where it’s a solid color, or shoot from above by standing on something or placing them in a sitting pose while you shoot down at them.
Or change their position completely so their heads have a non-distracting background behind them.
Also try to utilize the rule of thirds composition rule. This will add so much to your group photos.
Do not let another person with a camera shoot over your shoulder
Your subjects won’t know which camera to look at, which will result in wandering eyes in your photos!
However, if someone wants to help make kids smile, have them stand above you or right next to you so the subjects are looking in the direction of the camera.
Do not let the details go un-noticed
For example, a tangled necklace, a dirty face or shirt, hair in face, or awkward hand placement which is why you always need to be paying attention.
First, set up your posing and composition.
Next, look at each person individually just before you take the shot…but try to do this quickly!
Do not waste time getting too creative with large group photos
Unfortunately, when taking a large group photo attention spans dwindle if you are not prepared with a quick pose in mind.
With my huge family the objective is is simply to get a shot where everyone is seen, has a decent expression, and looking in the direction of the camera!
Save your more creative shots for the smaller groupings.
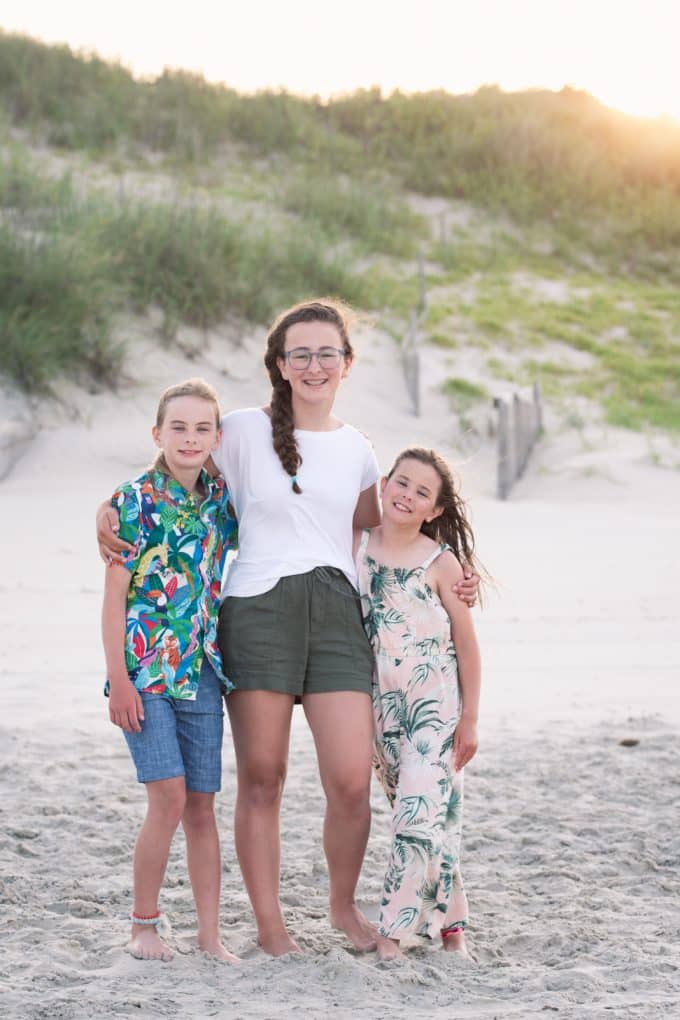
Do not shoot under tree branches or near large objects that will cast shadows or scattered light on skin or clothing
The goal is to find soft, even light. When in open shade, turn your group toward the sun (if you have that luxury in your location) to help get more light/detail in faces.
Obviously perfect light can’t be there every single time so if you find yourself in a situation with harsh light, don’t fret check this post out all about how to embrace hard light.
Don’t be too spread out in group photos
Once you make sure everyone is in the photo, make sure everyone is in close. The more spread out everyone is, the more awkward and less genuine the photo will feel.
I like to say “Okay everyone, get closer… ” Then after they move in a bit say “good now ACTUALLY get closer.” That also tends to make people laugh and moves them in too.
How to pose for group photos
Put taller people towards the back and in the center, shorter people in front and on sides, if you are doing a standing pose.
Try not to make the group photo too deep. This will keep all faces in focus.
Chins up slightly for no double chins.
Have adults hold wiggly toddlers and babies.
If you can, shoot from above your group (i.e. with a ladder or chair) to make all the faces more visible and less shadows!
FAQs for Group Photos
What is the best settings for group photography?
Make sure your aperture in not too wide open or you wont get everyone in focus. Depending on how many people and rows of people keep your aperture around 8 or higher.
Shutter speed will depend on your group as well but don’t go below 1/160. If you have lots of wiggly kids and babies bump it up even higher to avoid any blury people.
For ISO just use what you need based off of your other exposure triangle settings.
How to get everyone in focus in a group photo?
Make sure you aperture is more closed than wide open. Don’t set it at 2.8 for a group of 15 people. Your depth of field will be way too shallow to get everyone in focus.
Set your focus in the middle on the front eyes since focus falls backwards.
Keep shutter speed high enough to handle people who would possibly be fidgety. Don’t go below 1/160.
What is the best lens for group photos?
A wide angle lens is perfect for group photos. It allows you to get everyone in the shot without having to move the camera too far away. A 35mm, or 24mm will be great for group photos.
What aperture should I use for group shots?
This will be a range based off of how many people and rows of people you have in your shot. If you have 2-5 people you can use an aperture of f/4-f/6.
If you have 6 or more people probably stay anywhere from f/6- f/10.
Always go back and check your photos to make sure everyone is in focus. If they are not, adjust your aperture to allow more in focus.
Ok, that sums it up. Please feel free to add any others that I forgot in the comments section!

Family…For many of us that is why we got into photography and what pushes us to continue to learn to capture not only our family but those around us. What a gift you are able to give to families with group photos!


