
A Guide to Creating a Facebook Group for Your Boutique
Facebook groups are an excellent addition to your social selling toolbox. Creating one for your boutique is a really great way to meet ideal customers, provide added value, and boost your brand’s organic engagement.
In this article, we’ll take a look at the differences between a Facebook group and a page, define your business’s group goals, and show you how to set up your own. Let’s jump right into it!


Mục Lục
The Difference Between Facebook Pages & Groups
Though both a Facebook page and group can be used to promote your business, the two have very different purposes and some distinct advantages.
You always want to start with a Facebook business page, since it is a publicly available page that invites a broad audience to get to know your brand and services. Think of it as your business’s “About” page on Facebook.
Facebook groups, on the other hand, bring together like-minded individuals that share a common interest (like your brand or products) and provide a space for them to interact. Both group admins and group members can post here to start discussions about a specific topic or theme in an exclusive forum-style setting.
Because of this, Facebook groups have some distinct advantages over pages.
-
- Groups attract a highly targeted audience filled with ideal customers.
- Groups are designed to encourage more organic engagement.
- The resulting engagement helps your group show up more in the algorithm.
Most importantly, if done correctly, they give you a chance to build stronger relationships with customers, as well as a real sense of community around your brand.
Create a Purpose & Plan for Your Group
Before you dive headfirst into creating your group, you must first understand what you hope to achieve with it. This will help you figure out your strategy and give you the best chance of succeeding with it.
Every brand should strive to provide added value that keeps customers coming back for more. Groups offer the perfect medium to deliver that extra value through curated content.
How do you choose this content? Think about your ideal customers. Do they share a common thread? How can you use this information to serve them?
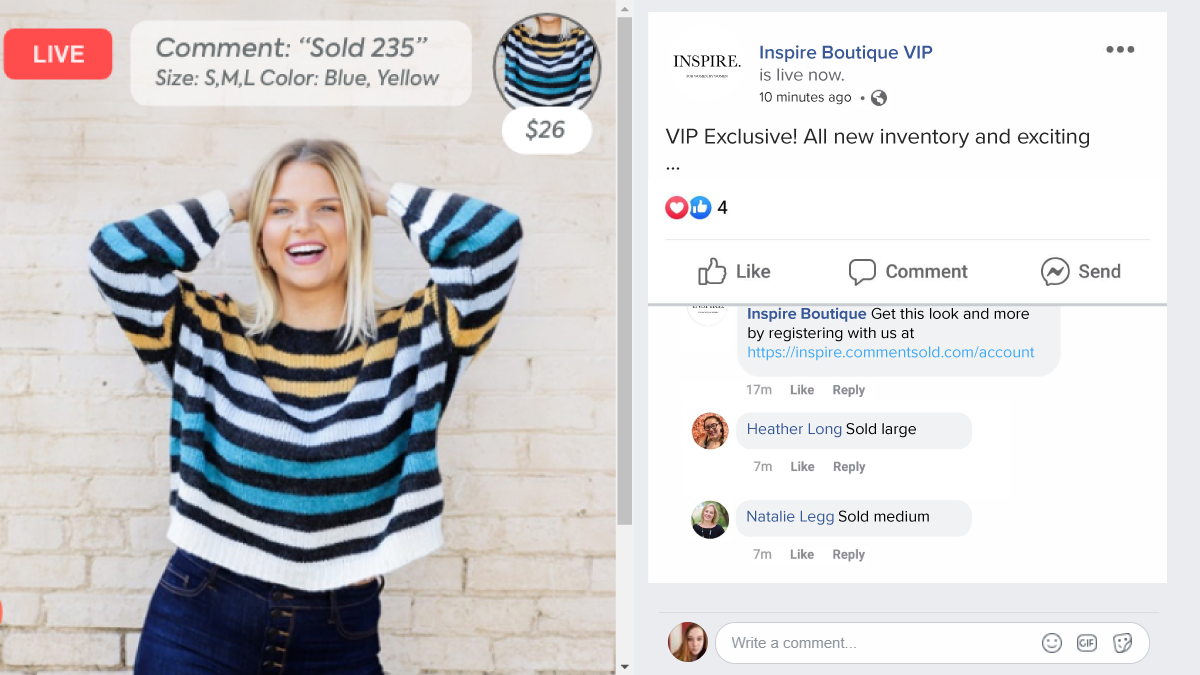
In the case of boutiques, group focus is usually on fashion and styling tips through fit videos and Facebook Live Sales. Giving your customers expert advice about your products and services is a good way to sell more and give them a great experience.
They can also be used to give group members exclusive perks, such as a chance to purchase new arrivals before they are posted to the public. This is often referred to as a “VIP” group.
But groups are not just about promoting and selling. Facebook groups were created to foster human connection. The most successful business groups promote entertainment, socialization, and community to accomplish this.
Do you have something funny to share? Do you have some words of encouragement for them? What about a relatable story?
All of these are great examples of how you can create meaningful interaction and connection with your personal brand.
How to Set up a Facebook Group for Your Business
With a purpose and plan, you’re all set to begin creating your group! Follow these steps to get started.
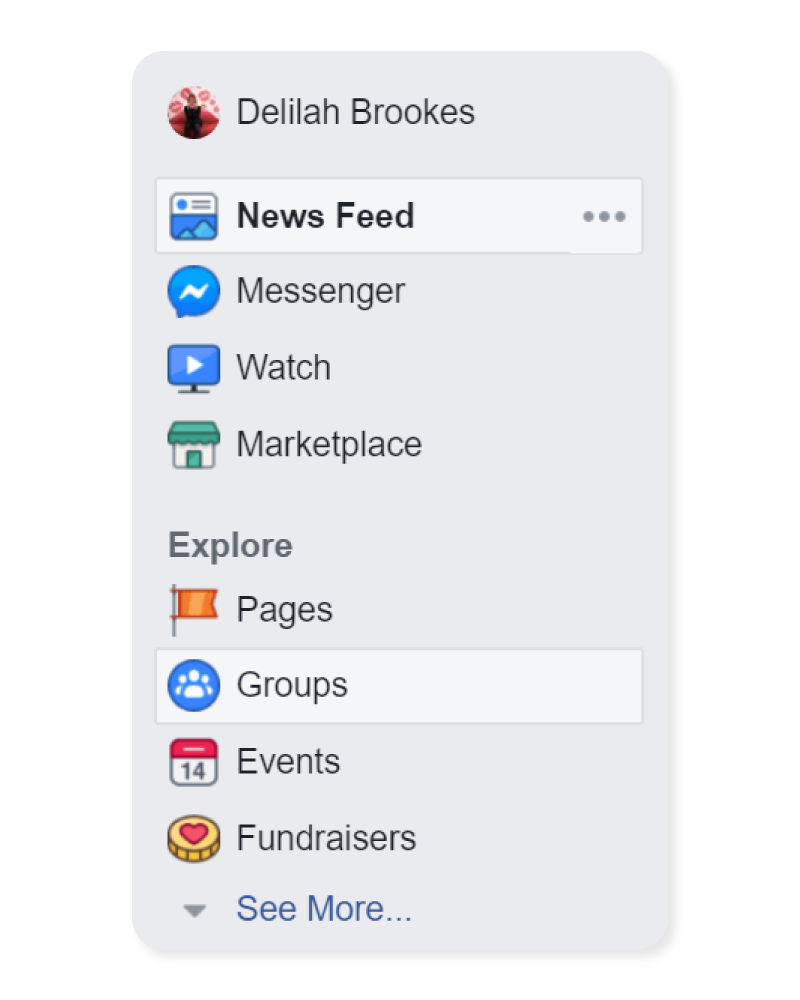
Step 1 – Enter the Facebook Groups Tab
Log in with your personal account and enter the Groups tab. This can be found on the left side, under your profile image.
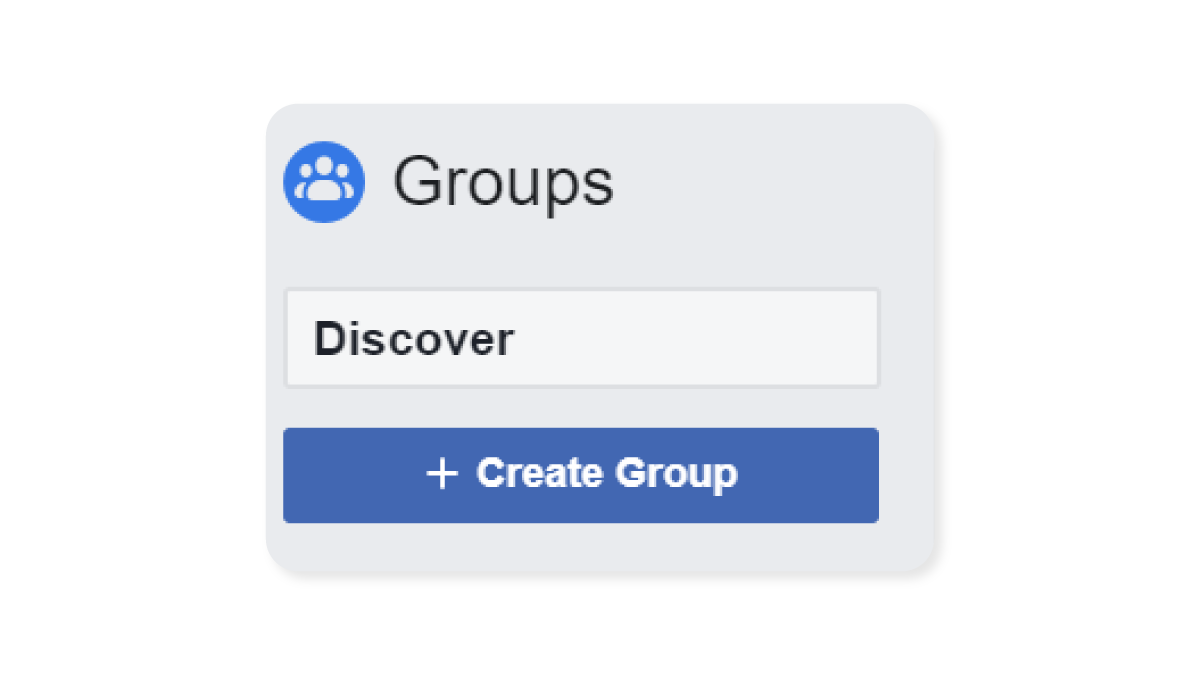
Step 2 – Click “Create Group”
Step 3 – Fill out Your Group Information
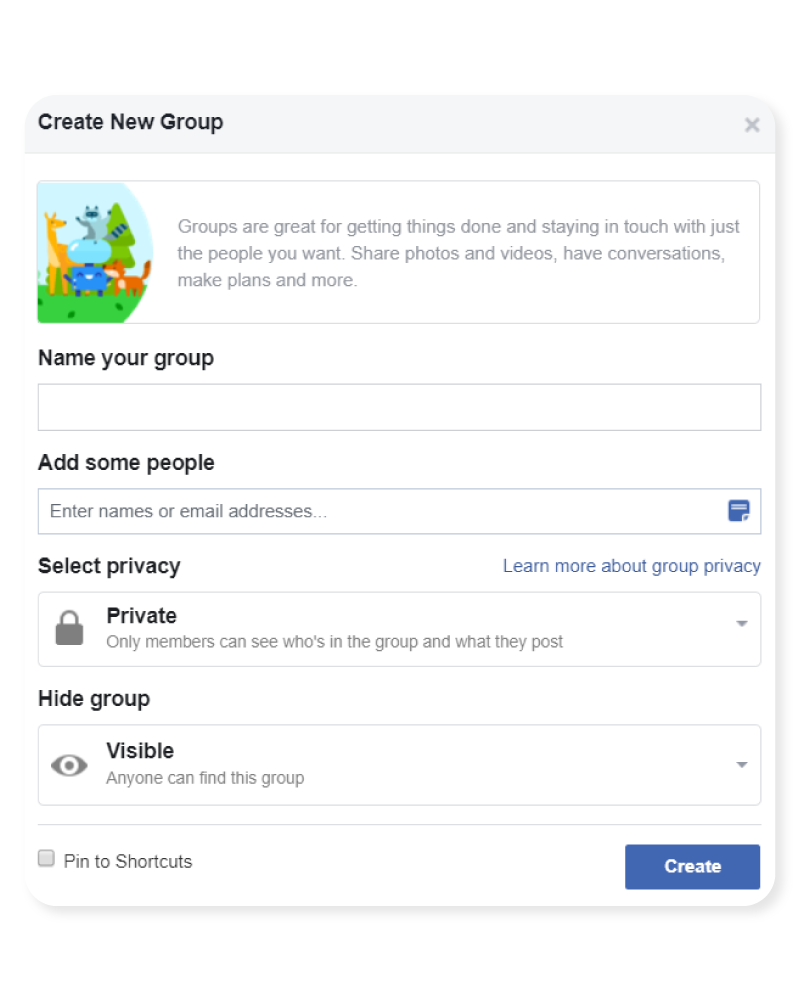
Name Your Group
Your group should include your business name so that it can be easily found in a search. If you want to make it obvious what your group is about at a glance, you can add additional keyword descriptors, such as “shop,” “VIP,” or “club.”
Choose your group name carefully. You will be only able to edit it once every 28 days since it notifies all group members of the change.
Add Some People
You have the option to invite people now, or you can skip this step if you want to do this later.
Select Privacy Settings
There are two privacy options for Facebook groups: public and private.
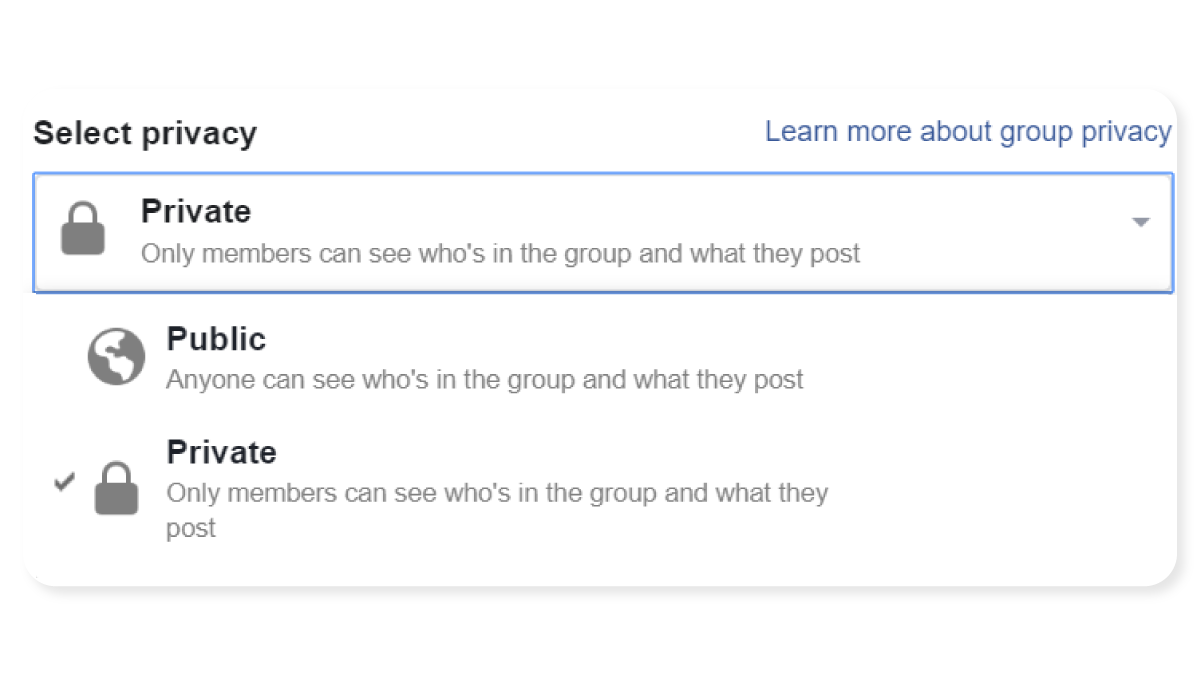
With public groups, anyone can see what members post, comment on, and share in the group.
With private groups, only current members can see what members post, comment, and share.
Which one is better? It depends on your preference. Most businesses use private group settings to maintain the appeal of group exclusivity.
Choose Group Visibility
Under “Hide group,” you can select whether or not your group is visible or hidden.
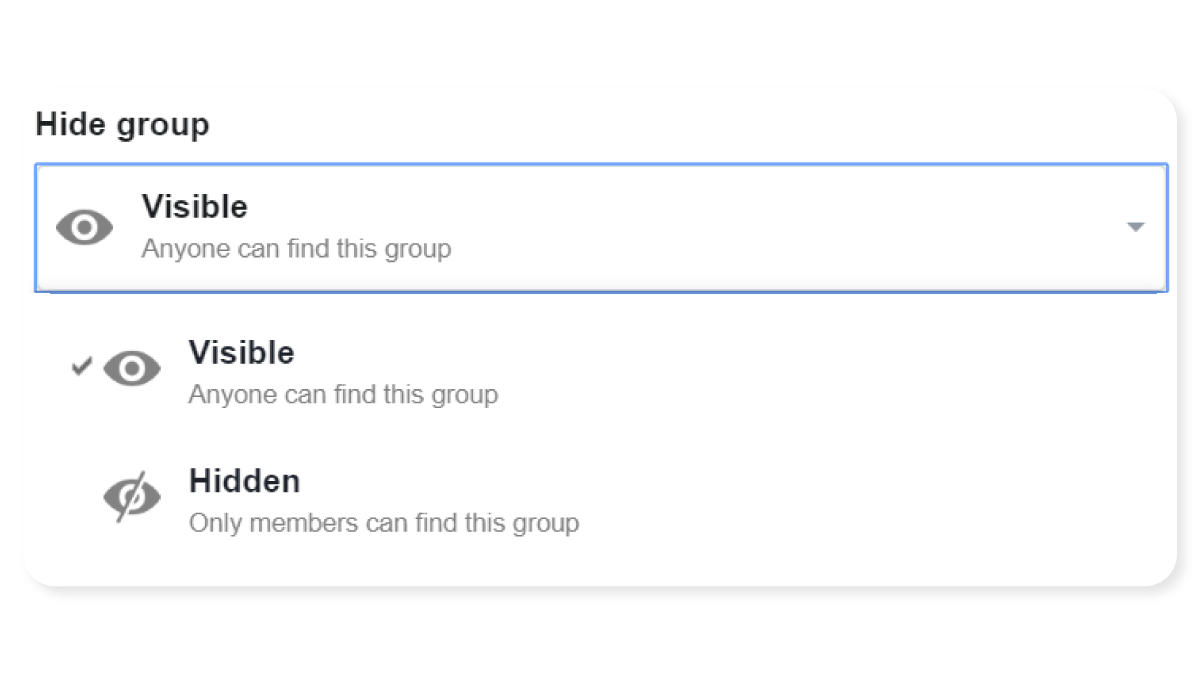
Visible groups can be found by anyone through search or through other places on Facebook.
Hidden groups are only seen by members through search or in other places on Facebook.
Since you want your group to be found by interested people, we recommend you keep your group visible.
Now press “Create” to save all your information and move onto the next step.

Step 4 – Upload a Group Cover Photo
You’ll be taken to your newly created page, where you’ll see the prompt to upload a group cover photo. A cover photo is a banner that stretches across the top of your group, which will be the very first thing people see when they discover your group.
Make sure it is a quality image that uses the correct dimensions. The perfect Facebook group cover photo size is 1640×856 pixels.
When designing your cover photo, select colors and images that represent your brand style. You can also use this space to tease your customers.
CommentSold has seen many retailers use their banners to advertise websites, promos, and Facebook Live Sales.
You can hire a graphic designer for this job, or create a DIY cover photo yourself. We recommend using Canva, a free and easy-to-use photo editor, to get the job done.
When you’re ready to upload, click “Upload Photo”, select your image. Then click “Save.”
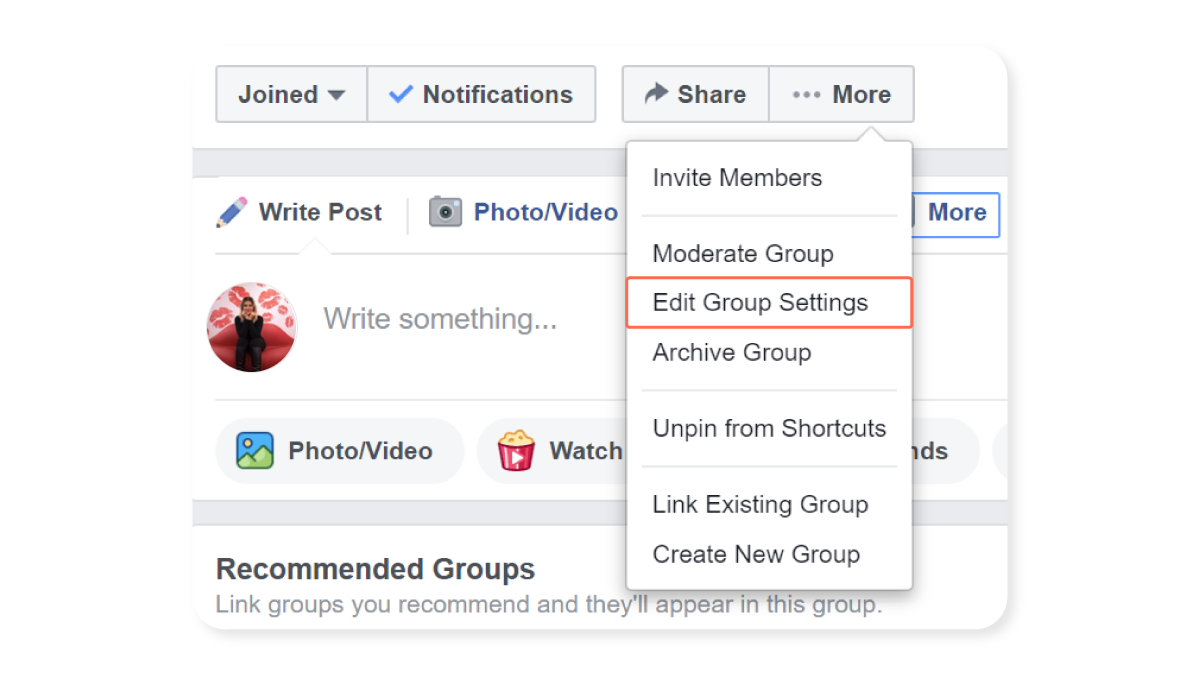
Step 5 – Edit Group Settings
You’re all done creating the page. However, there are some small details you can add to make a big impact, so don’t skip over these!
Click “More” under your cover photo. Then select “Edit Group Settings.”
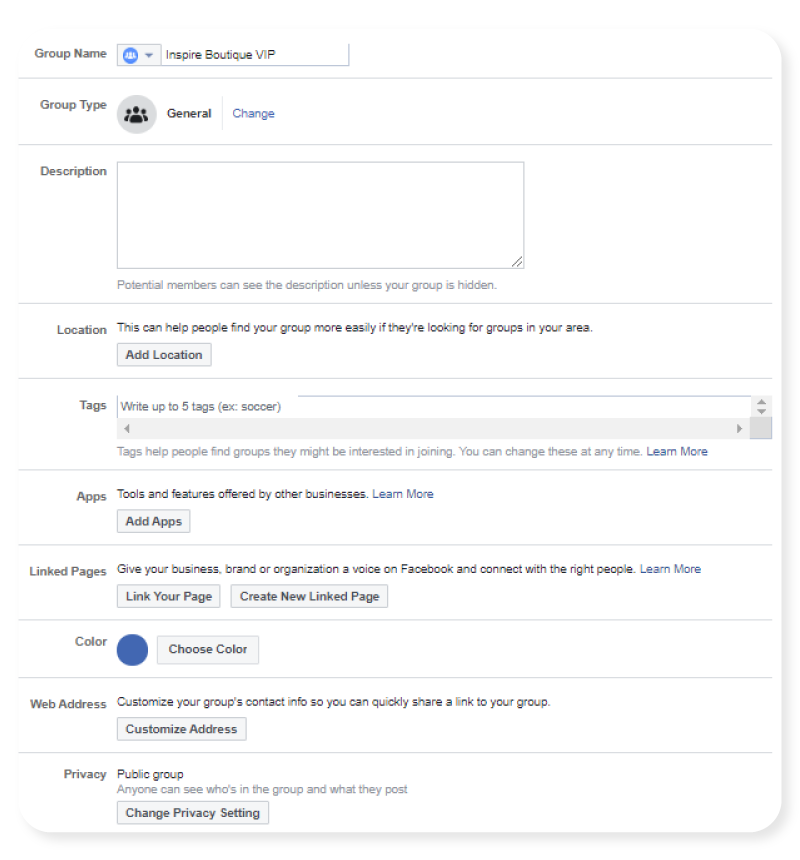
Here, you can customize your group settings with a slew of details. Don’t let this overwhelm you. We’ll tell you which are the most significant and need your immediate attention. Others you can skip over entirely or return to later.
-
- Description– Create an enticing description to tell viewers why they should join and what to expect.
-
- Tags– Add keywords that are related to your business so people can easily find your group when they are using search.
-
- Linked Pages– Link your business page so fans and followers can readily find your Facebook group page from your business page. Linking these is especially important if you are comment selling and want to use CommentSold’s auto-replies to guide shoppers to registration.
-
- Membership Approval– Do you want to allow anyone to add members, or should you and your fellow admins and moderators be the only ones to do this? We recommend that you allow anyone to add members. This way, your members can invite their friends to your group.
-
- Membership Requests– Learn more about the people who join your group by asking them up to 3 questions. Some groups use these to ask members if they agree to read group rules before they are approved.
- Automatic Member Approvals– Set up requirements if you want to enforce strict membership rules without having to approve every join request manually. You can set the parameters for auto-approvals here.
-
- Posting Permissions– Can anyone post in your group, or do you only want group admins to have this power? Allowing anyone to post in the group can be a great opportunity to let fans spark conversation and share their love for your brand.
-
- Post Approval– Tick this box if you want all group posts from members to approved by an admin or a moderator. We highly recommend this because it keeps disgruntled customers and trolls from abusing their ability to post.
After you’re finished making group edits, click “Save.”
Step 6 – Set Group Rules
Group rules are optional, but this is one of those settings you probably don’t want to skip over. Rules set expectations for group members’ behavior and cut down on the amount of moderating you’ll have to do.
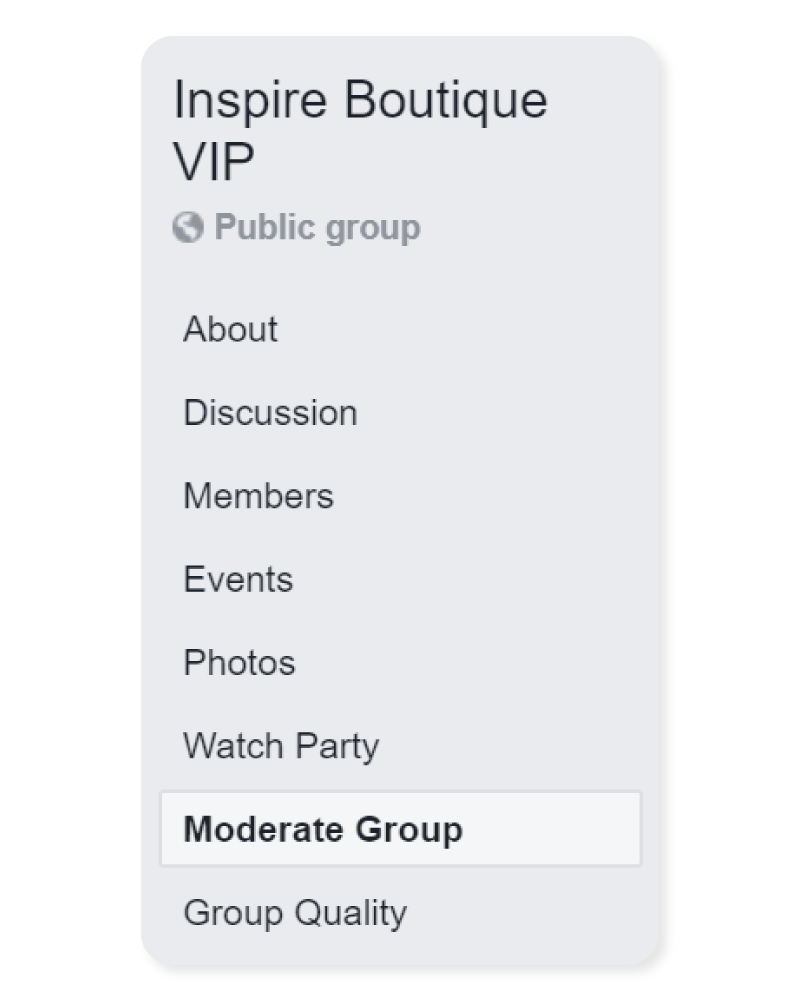
Click on the “Moderate Group” tab. Then click on the “Create Rules” tab to get started.
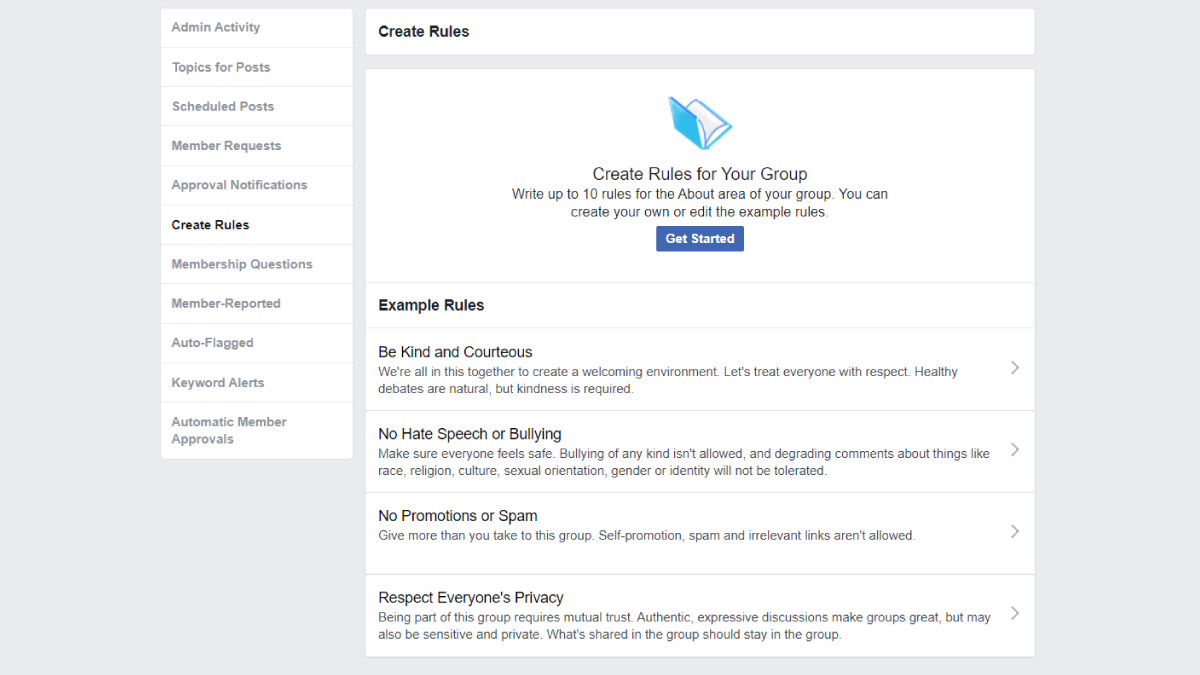
Facebook’s example rules are a great starting point. These rules will help keep the peace and cut down on spam.
If you’d like to add these or customize your own group rules, click “Get Started” and follow the prompts to create your rule book. Make sure to save the changes.
The Takeaway
With group planning, purpose, and optimization, you’ve created a Facebook group to be proud of! Now, all that’s left to do is invite others and make your first post. Good luck and happy posting!
Need some tips to build an engaged group? Read 4 Steps to Building an Engaged Social Following.


