
ASUS Touchpad Driver Download for Windows Quickly & Easily
All Windows systems have a pre-installed or built-in driver for the system touchpad. This driver is utilized to help the system touchpad in interacting with the system’s firmware. ASUS contains its official drivers to support ASUS system components, such as ASUS pointing device drivers, network drivers, and more. These ASUS drivers are richer in features and security compared to normal drivers.
This post will demonstrate how to download the ASUS touchpad driver for Windows.
Mục Lục
How to Download ASUS Touchpad Driver for Windows 10 and 11?
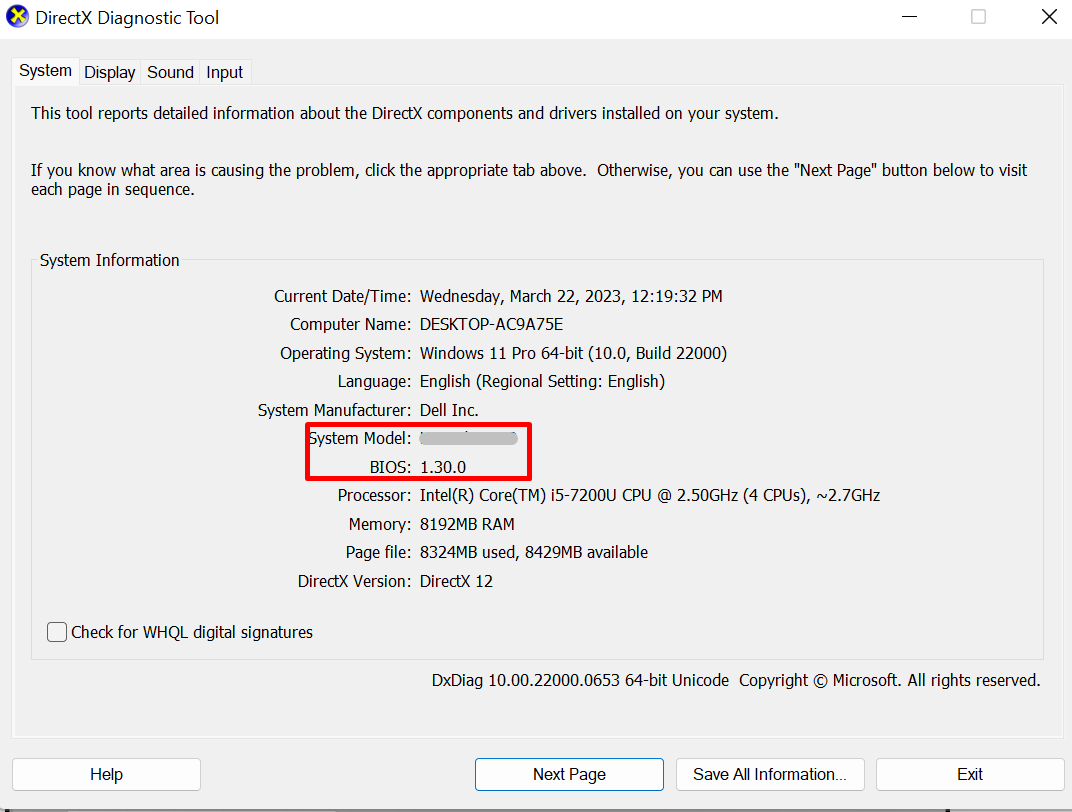
To download the ASUS touchpad driver on Windows, first, check the system model from the back side of the laptop. However, users can also check the system model by launching the “dxdiag” or “DirectX Diagnostic Tool” from the Start menu:
To install the ASUS touchpad driver for Windows, go through the provided instructions.
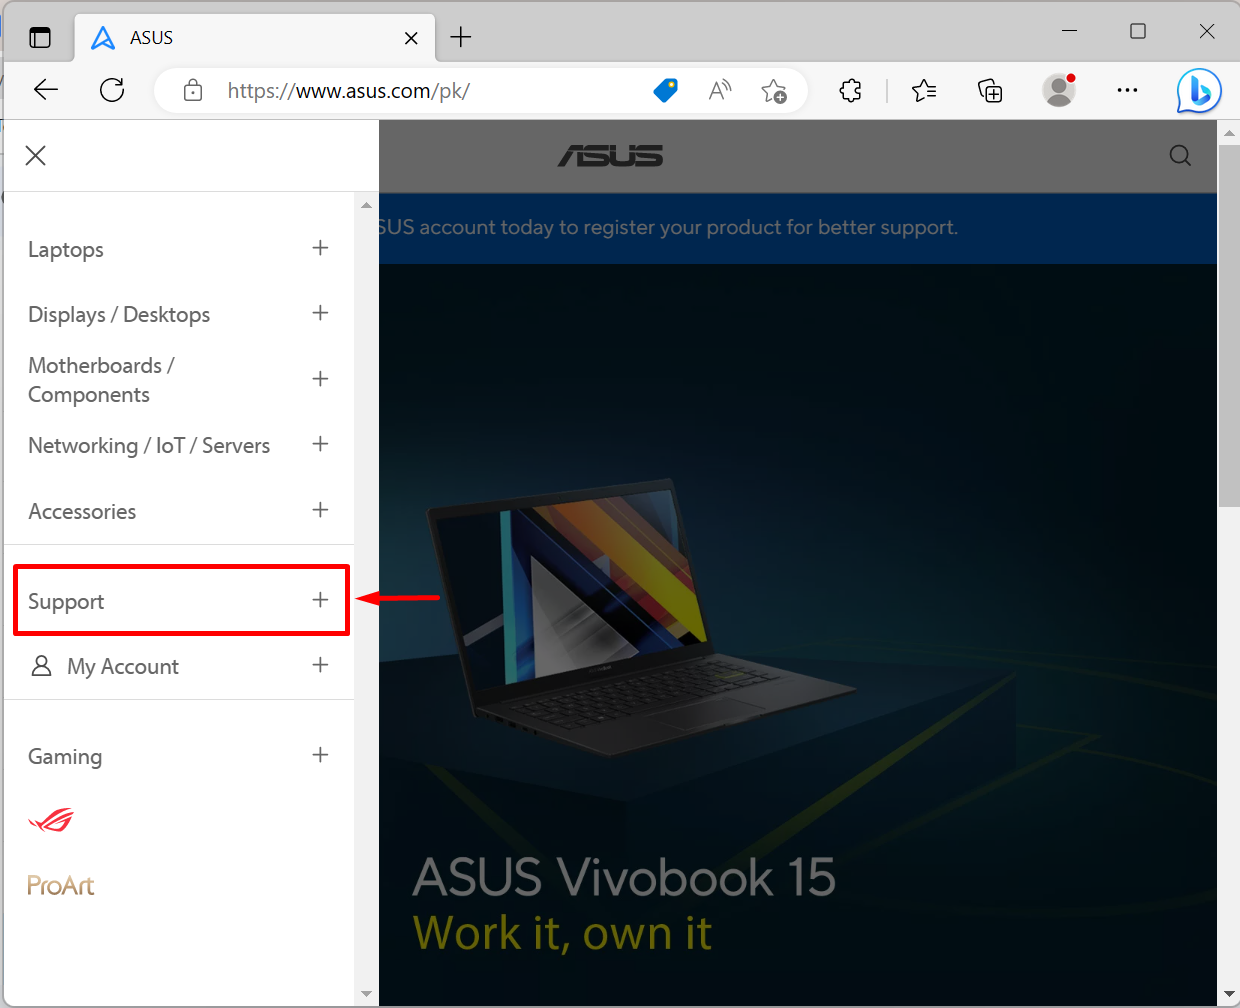
Step 1: Navigate the ASUS Website
First, navigate to the ASUS official website and click on the “Support” menu:
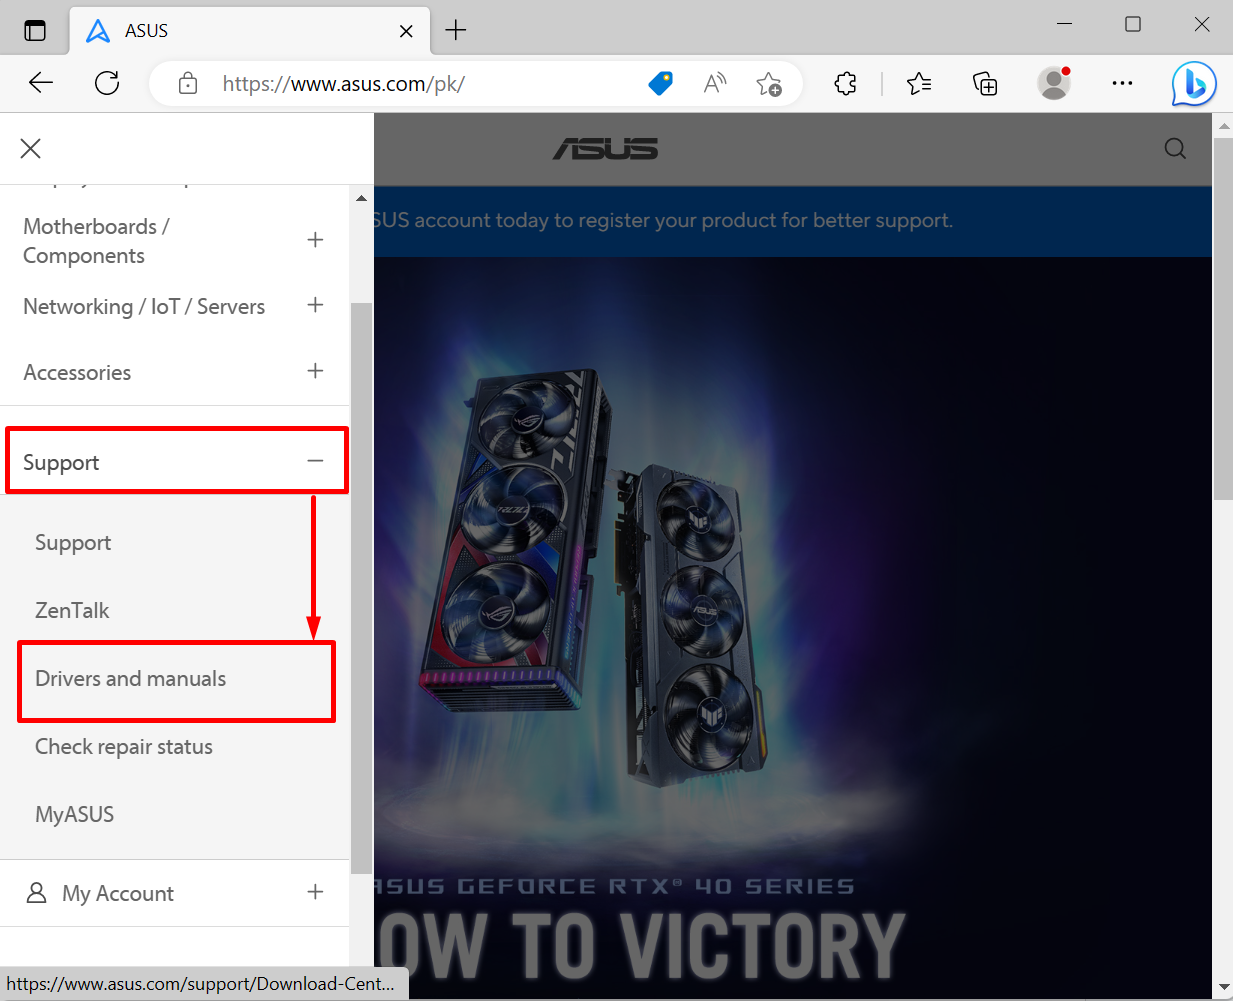
Step 2: Open the “Drivers and manuals” Support Option
From the Support menu, choose the “Drivers and manuals” options as shown below:
Step 3: Search for the System Model
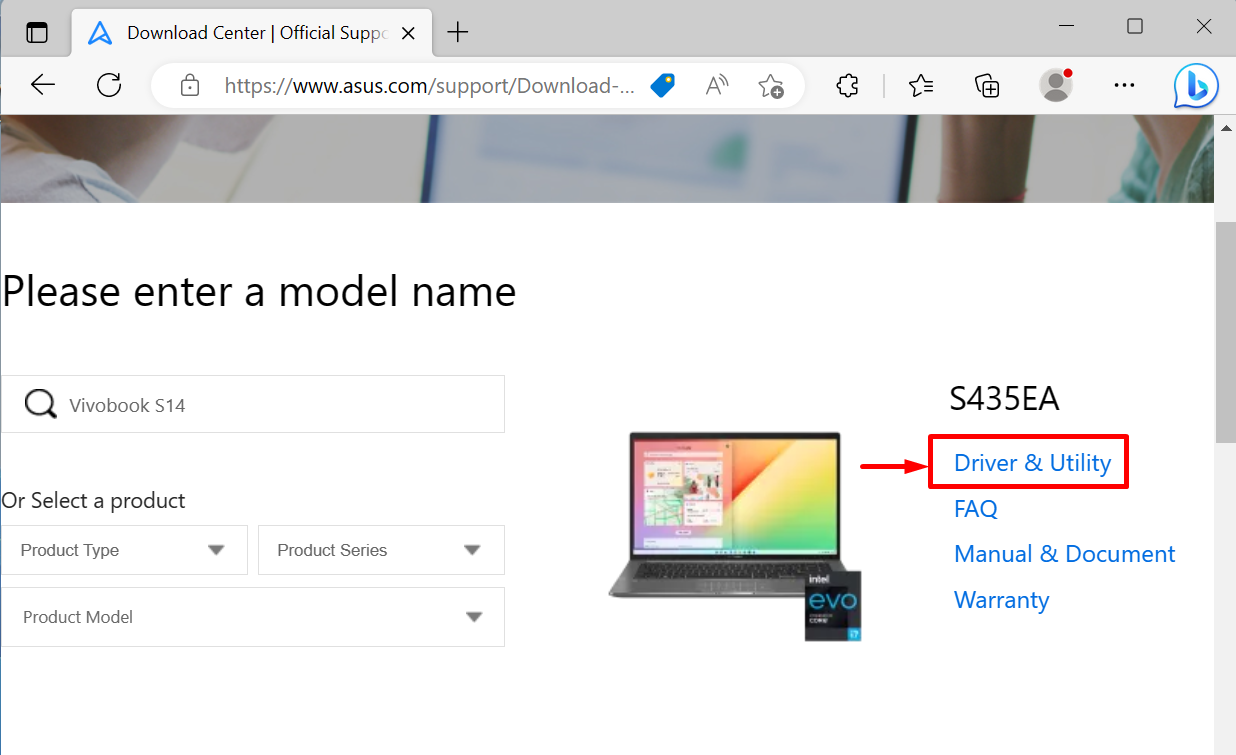
Search your ASUS system model in the below-highlighted field and choose the model from the search results:
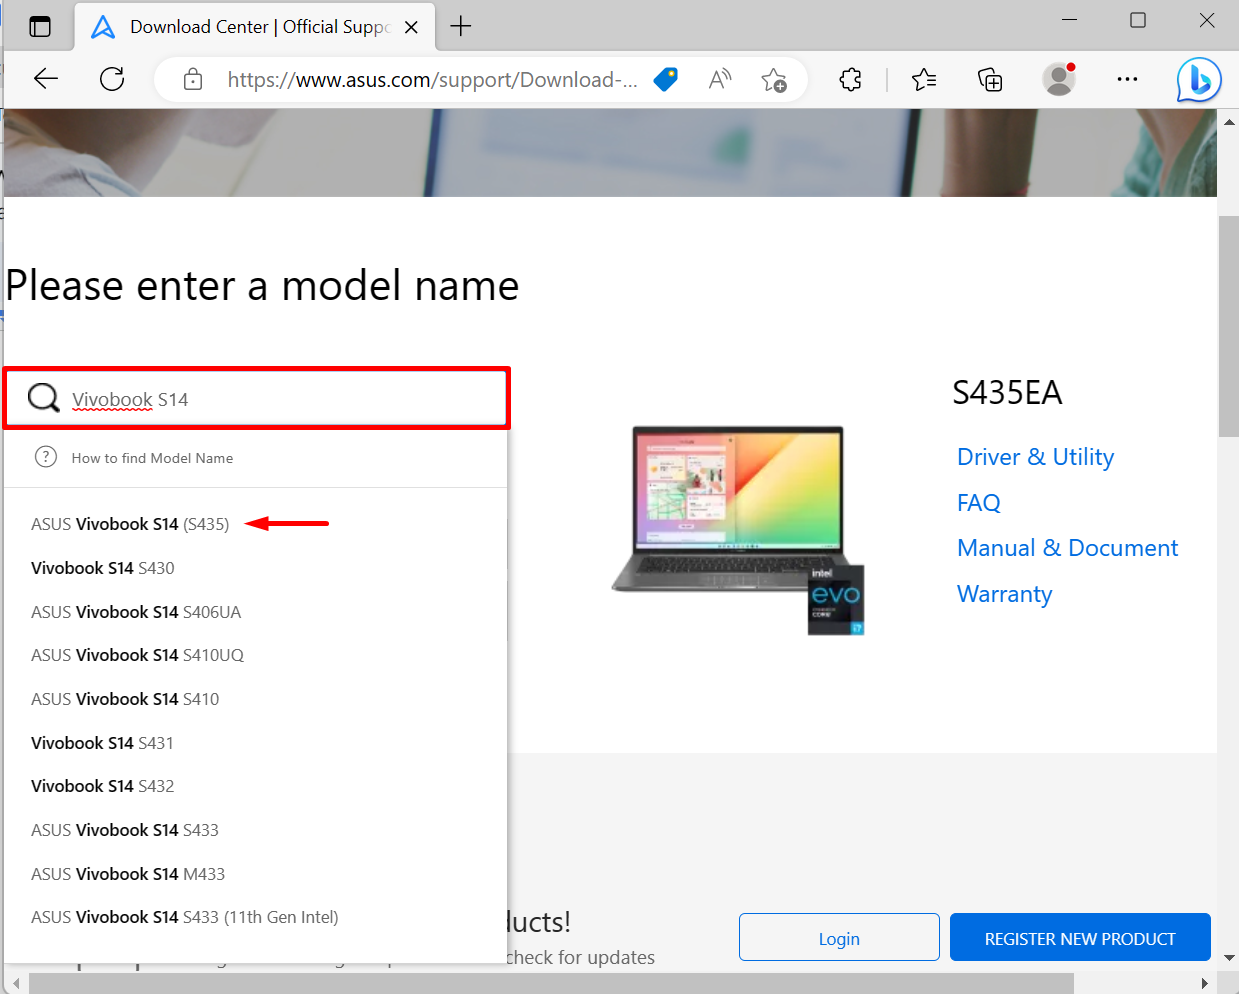
Upon doing so, the available driver’s package for the searched model will appear on the right side of the screen. Hit the below highlighted “Driver & Utility” option:
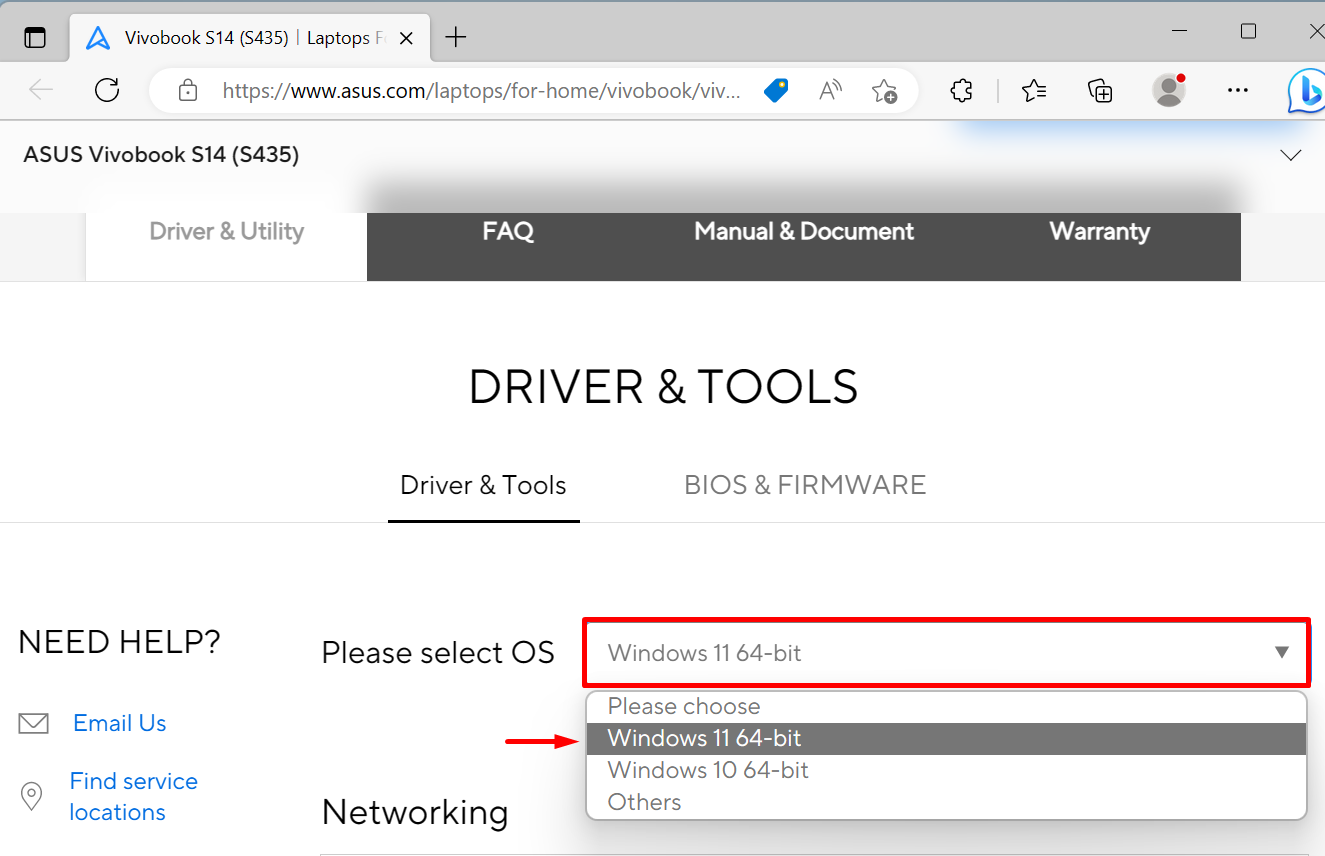
Step 4: Select the OS
Next, select the OS of your system, such as Windows 10 or Windows 11. For instance, we have selected Windows 11 64-bit to download the ASUS touchpad driver:
Step 5: Download the ASUS Touchpad Driver
After that, a list of drivers for the selected model and Windows will appear on the screen. Scroll down to “Pointing Device” drivers, select the touchpad driver, and hit the “DOWNLOAD” button:

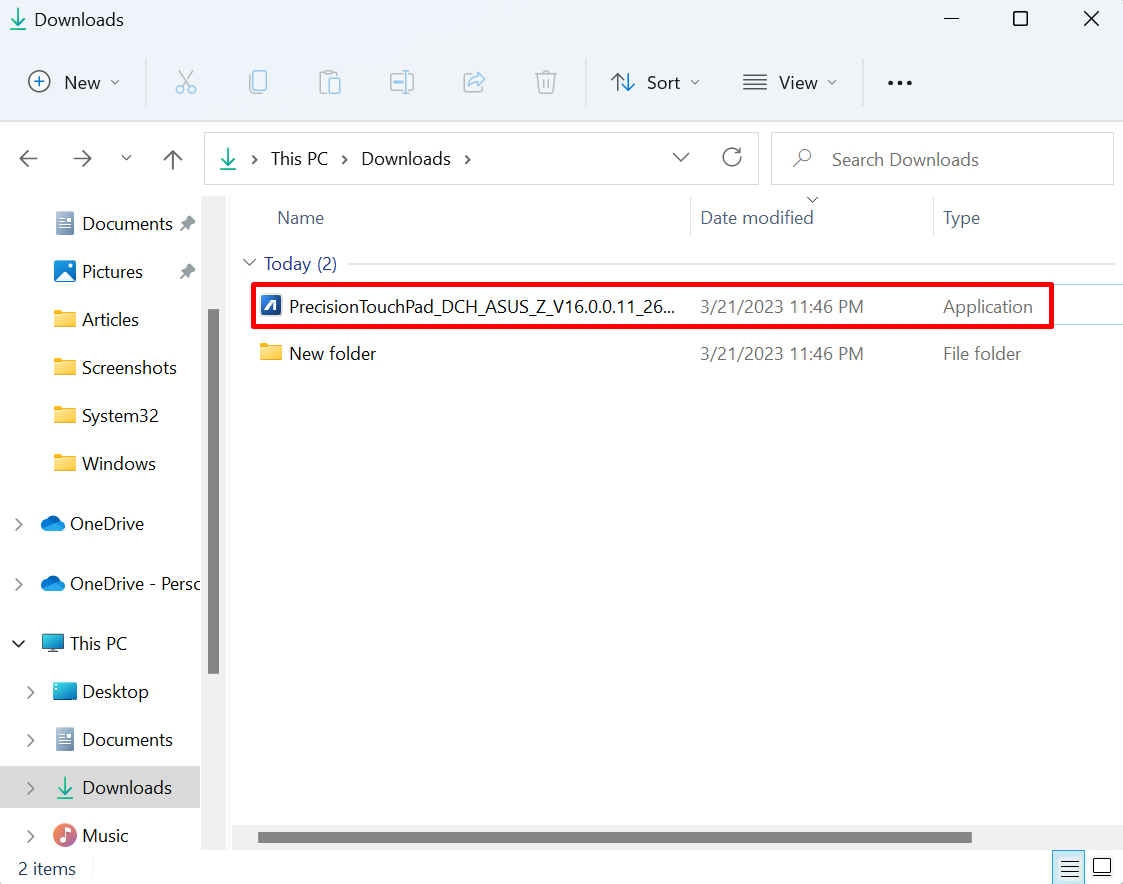
Step 6: Run Touchpad Driver
Next, navigate to the system’s “Downloads” directly, double click on the touchpad driver installer to install the ASUS touchpad driver:
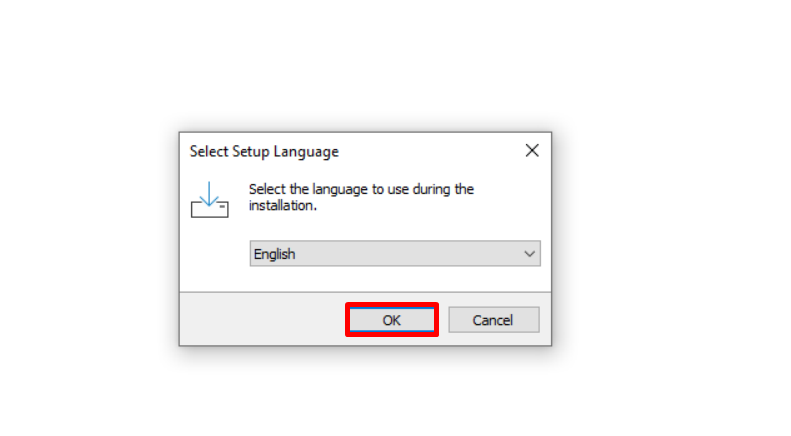
Choose the language to install the driver and press the “OK” button:
Step 7: Install the ASUS Touchpad Driver
The setup window for the ASUS touch driver will appear on the screen. Press the “Next” button to start driver installation:

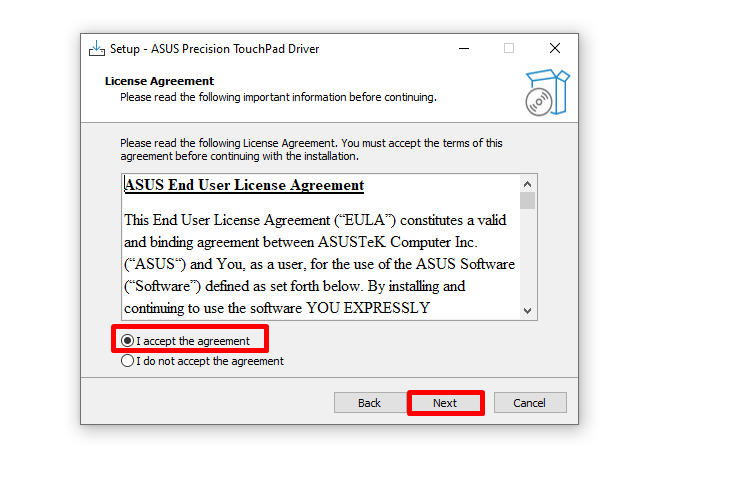
Accept the license agreement by marking the highlighted radio button. Then, press the “Next” button:
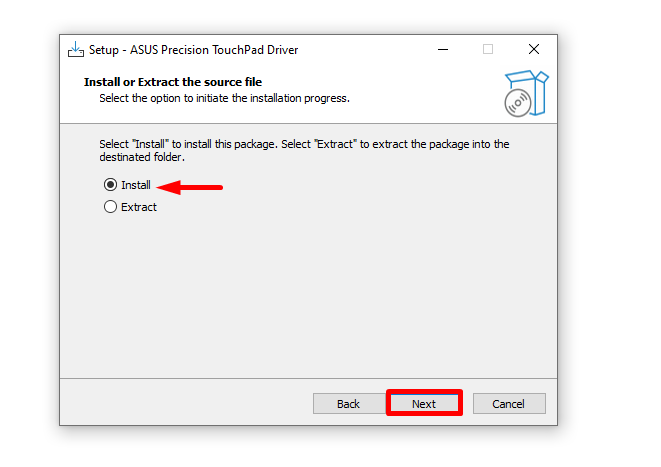
After that, mark the “Install” radio button and hit the “Next” button:
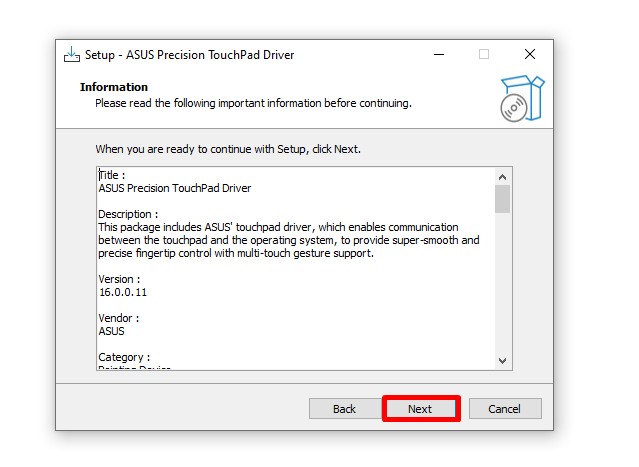
Some basic information will appear on the screen, read the instructions and hit the “Next” button to proceed further:
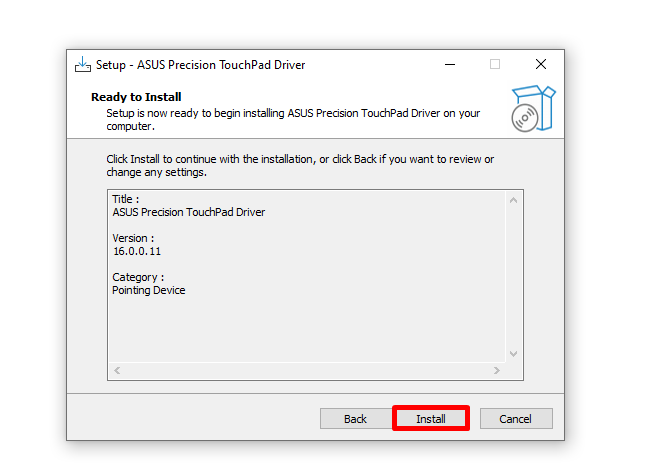
Now, hit the “Install” button to install the ASUS touchpad driver for Windows:
After installation, mark the highlighted radio to restart the system and press the “Finish” button:
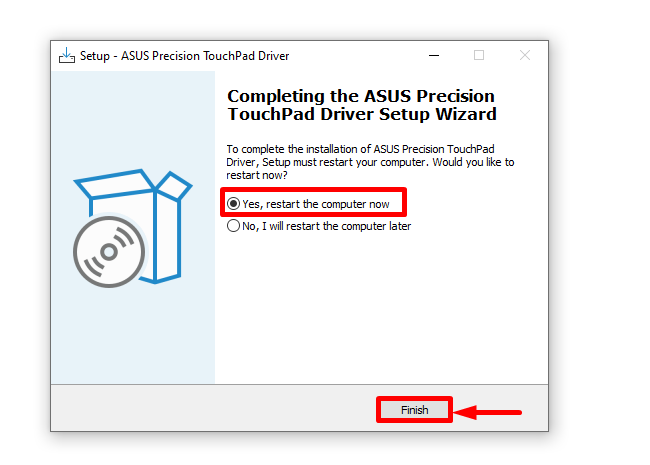
That’s how the ASUS touchpad driver is installed on Windows.
Bonus Tip: How to Update the Windows Touchpad Driver?
In order to update the already or pre-installed touchpad driver for Windows, go through the provided steps.
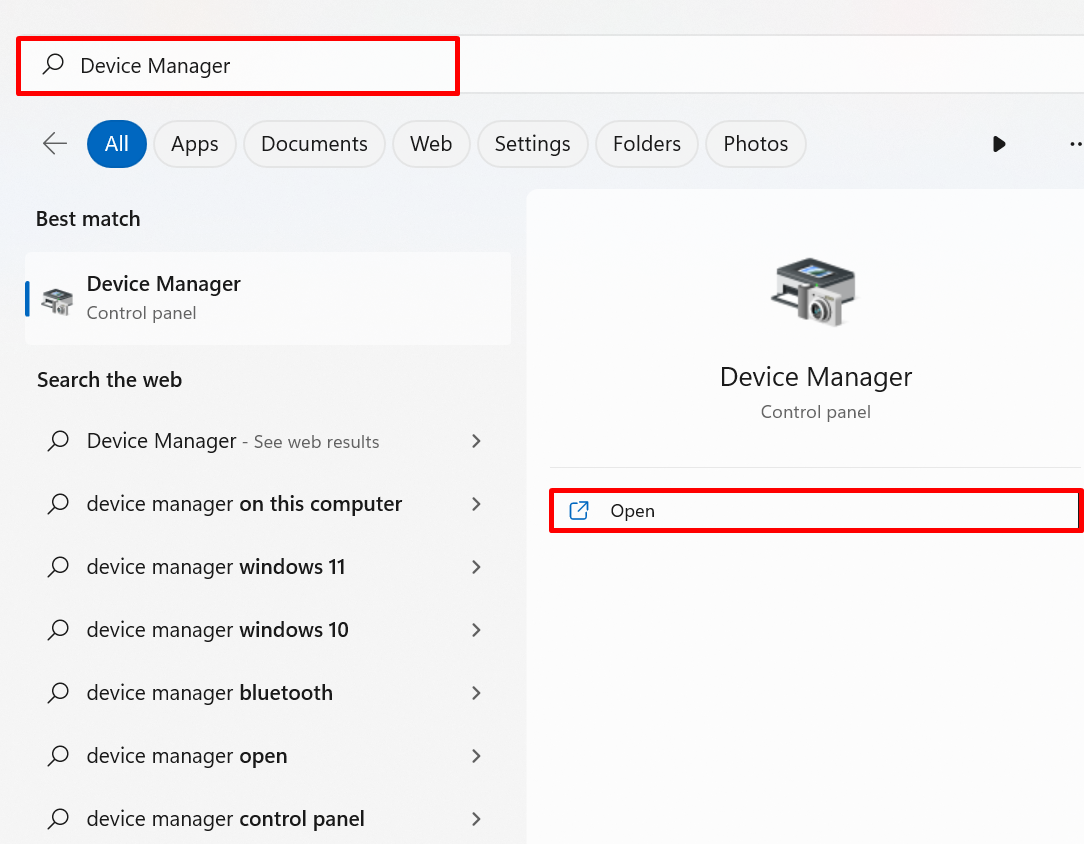
Step 1: Launch Device Manager Application
First, visit the Window Device Manager app from the Start menu:
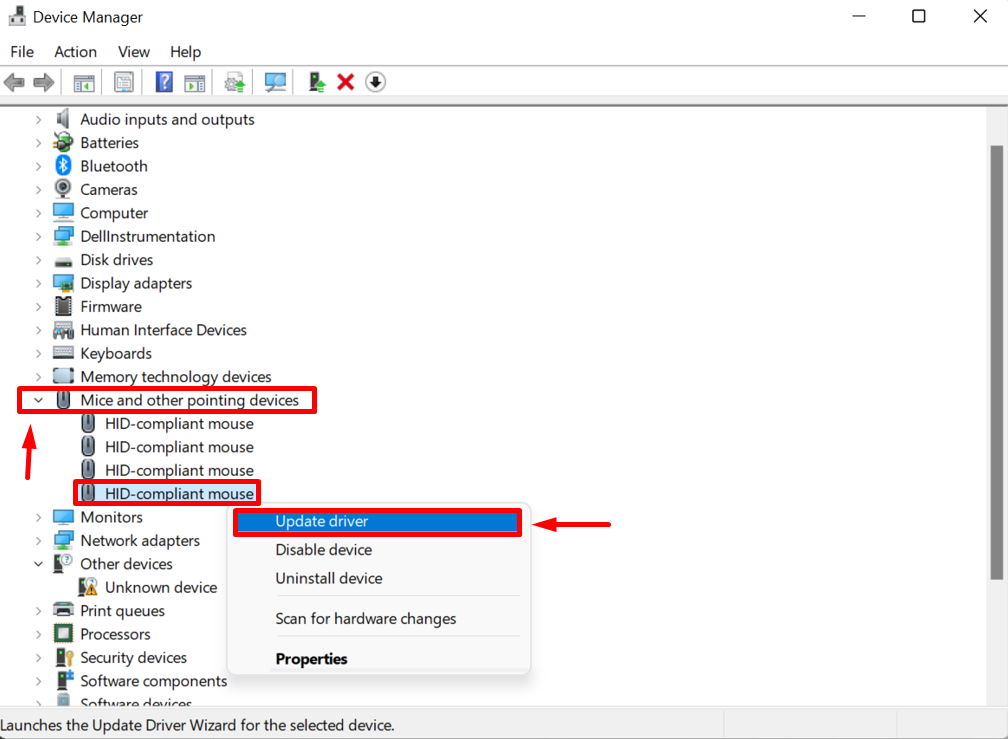
Step 2: Update the Installed Touchpad Driver
Open the drop-down menu of “Mic and other pointing devices” drivers, right-click on the driver you are required to update, and hit the “Update driver” option:
Next, click on the highlighted option to search and update the driver automatically:
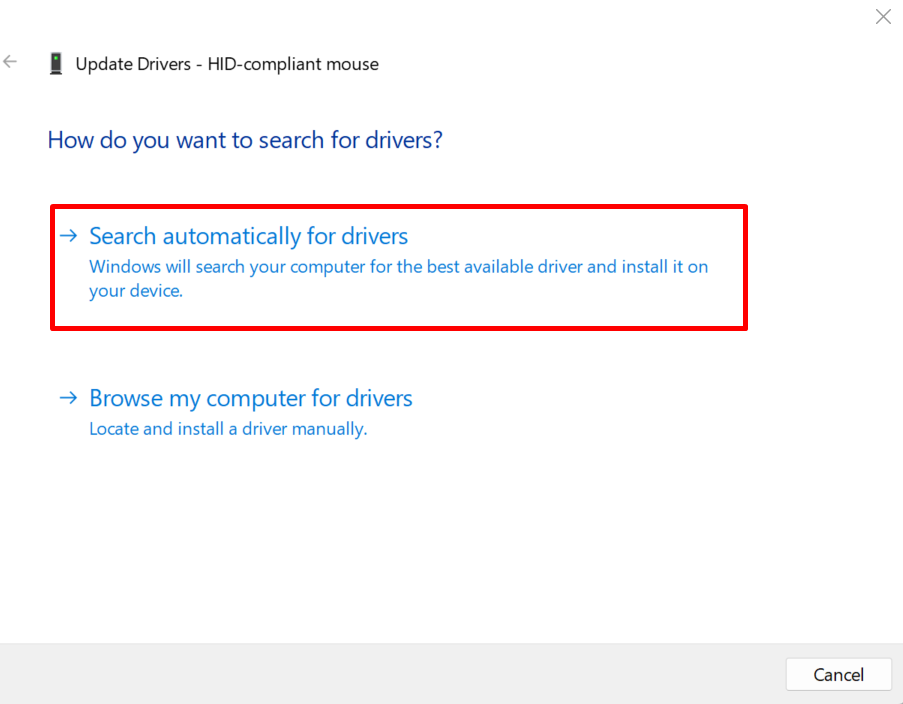
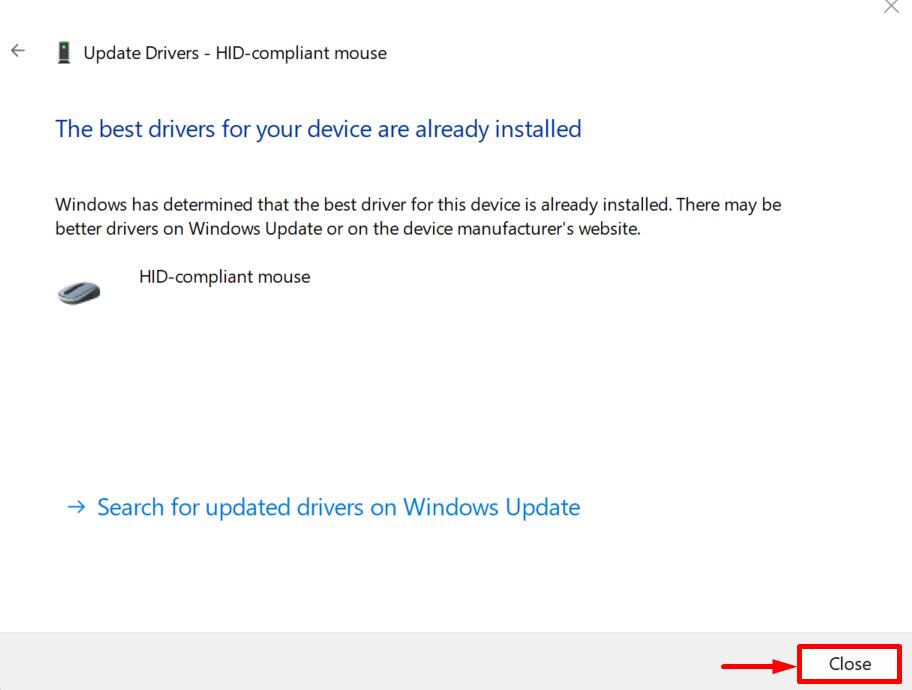
This will update the driver if required. Otherwise, it will show the message that the device has already the best driver:
We have demonstrated how to download and install the ASUS touchpad driver for Windows.
Conclusion
To download the ASUS driver for Windows, first, find the ASUS system model. After that, visit the ASUS official website, and visit the “Drivers and manual” Support option. Search for your ASUS model, select the OS, and download the ASUS touchpad driver from the “Pointing devices” menu and install it on your system. This blog has demonstrated how to download the ASUS touchpad driver for Windows 10 and 11.


