Guide for Apple IT: Apple Business Manager
Apple Business Manager is a critical tool for anyone who manages Apple devices. It provides a critical link between your Apple device management solution and your devices, enabling things like Automated Device Enrollment (ADE). Add in its utility in distributing apps and other content at scale and other content and its ability to federate with user directories, and Apple Business Manager clearly becomes essential for any Mac admin.
This guide will provide an overview of how Apple Business Manager works and how you can use it to manage Apple devices in your org. We’ll cover its primary components as well as its role in the device-management infrastructure.
Note: Apple Business Manager is found at the URL business.apple.com. But Apple Business Essentials—Apple’s own device management solution—uses that same URL; if you have an ABE account, you’ll see it instead of the generic Apple Business Manager UI. Apple Business Essentials has a comparatively limited set of device-management features, compared to most commercial MDM solutions. Mainly targeted at small businesses, it also includes some support and storage features. It is available only in the U.S. and Canada.
Mục Lục
What Is Apple Business Manager?
Apple Business Manager is a web-based portal that gives IT administrators tools for deploying and configuring macOS, iOS, and iPadOS devices. When connected to a device-management solution (such as Kandji), it lets you configure settings for those devices and distribute content to them. Apple Business Manager is not a device-management solution in and of itself; rather, it complements one.
Apple runs a similar service for education customers, Apple School Manager; we won’t be covering that service here, but it is worth noting that it offers some features—including additional iCloud storage and tools for managing school rosters—that Apple Business Manager doesn’t.
Features of Apple Business Manager
Automated Device Enrollment
Automated Device Enrollment is probably Apple Business Manager’s most prominent feature. It allows organizations to streamline deployments: When users get a new device (or one that’s been erased), they are guided to enroll that device in the organization’s MDM solution during Setup Assistant; the device then receives its configurations and settings.
Apps and Books
Apple Business Manager is also the only way to buy content from Apple in bulk. App licenses you obtain through Apple Business Manager do not require the user to have an Apple ID, and you can buy as many licenses as you need. Admins with the proper role in Apple Business Manager can acquire apps from the App Store (or Custom Apps made specifically for your organization by developers) and distribute them to devices with the help of an MDM solution. The organization always maintains full control over the licenses.
User Assignment
With Apple Business Manager, you can manage Apple IDs for your users. Managed Apple IDs allow your organization to integrate Apple services that require Apple IDs, while maintaining control over the accounts.
For organizations that use Azure AD or Google Workspace for identity management, you can federate those directories with Apple Business Manager to automatically create Managed Apple IDs for users using their existing credentials.
Those are the top-level benefits of using Apple Business Manager. There are many more; for that, see our post “Reasons to Use Apple Business Manager.”
Getting Started with Apple Business Manager
Before you can take advantage of Apple Business Manager, you must first enroll in it. That process is detailed in Apple’s Getting Started guide, but to summarize: You provide information about your organization, including an email address associated with your business, along with the contact information for someone at your company who can verify you and your role there. Apple reviews that information and verifies your identity and role.
Assuming that all checks out, you’re granted an Apple Business Manager account; the person associated with the provided email address is the default administrator. That first administrator can then enable others.
You’ll want to supply some additional information after you enroll: Your organization’s Apple customer number (if you purchase directly from Apple) or a reseller ID (if you purchase Apple devices from a participating Apple Authorized Reseller or carrier); you can enter more than one if you purchase Apple devices from multiple vendors. Here’s how to do so. We’ll explain why you should in just a bit.
Navigating Apple Business Manager
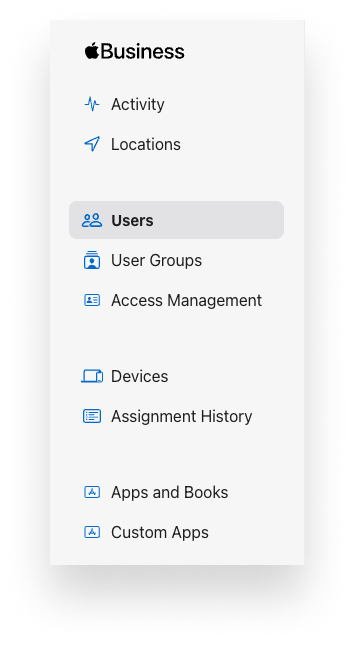
The lefthand navbar of the Apple Business Manager web interface is divided into nine sections: Activity, Locations, Users, User Groups, Access Management, Devices, Assignment History, Apps and Book, and Custom Apps.
Activity and Locations
Here you can view activity and status messages for your Apple Business Manager account. Viewable activities run the gamut from new account sign-ins to device deactivations; see the full list here.
When you set up your Apple Business Manager account, the address you provide becomes your first location. You can then add and manage others in the Locations section of Apple Business Manager; they can correspond to physical offices, departments, or groups.
One reason locations are significant: Content licenses are tied to them. You can transfer any unassigned licenses from one location to another. That ability can come in handy when you’re migrating from one device-management solution to another: You can create a new location for your new MDM and transfer the licenses to it.
Users, User Groups, and Access Management
Logically enough, the Users section is where you manage the people who use Apple Business Manager in one way or another. They can be added in multiple ways: Through federated authentication with Google Workspace or Azure AD; importing them from Google Workspace or from Azure AD via SCIM; or adding them manually. When you create a new account in Apple Business Manager, that creates a Managed Apple ID for that admin, which they can then use to log in. (To learn more, read our guide to Managed Apple IDs.)
There are two types of user groups: regular ones (to which you add members manually) and smart ones, which can be created via rules based on user attributes (such as location, role, or department).
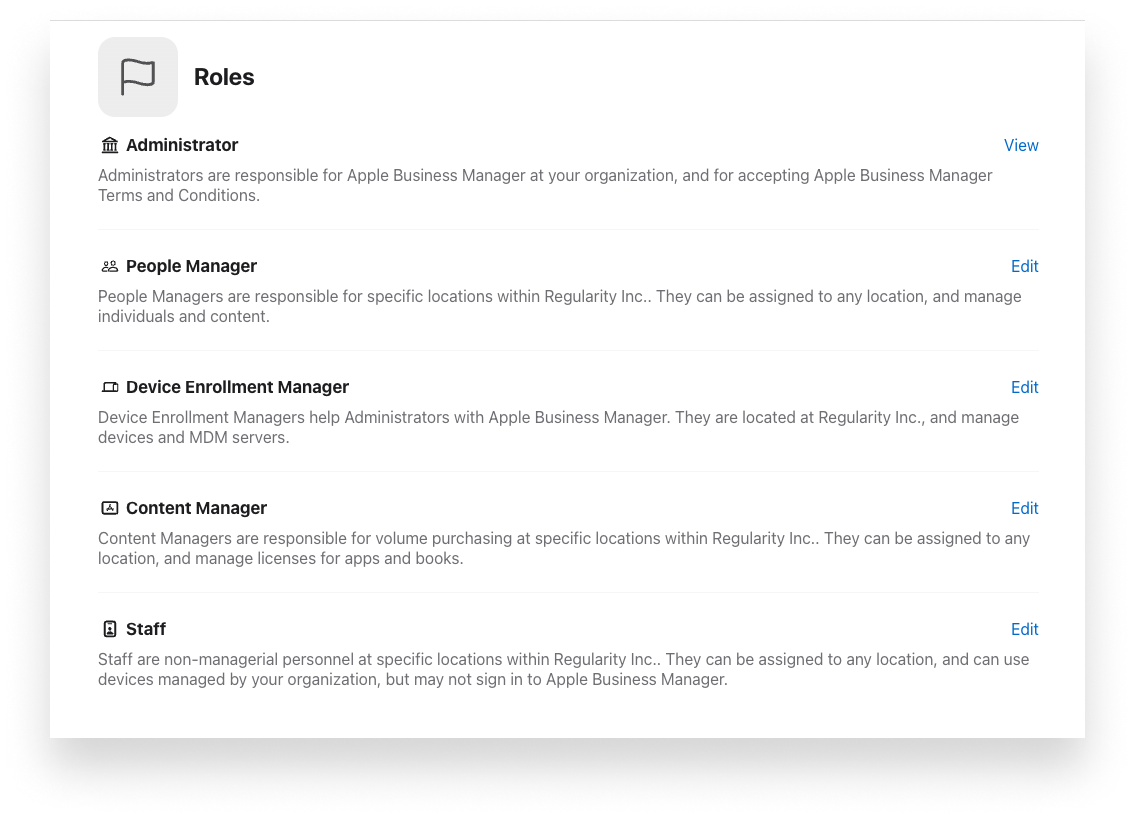
Each user is assigned a role. There are five roles in Apple Business Manager: Administrator; People Manager; Device Enrollment Manager; Content Manager; and Staff. Apple has a useful table that breaks down the privileges for each one, but the correspondence between those roles and the sections of the Apple Business Manager interface should give you a clue as to what each can do. Administrators can do everything the other roles can.

Managed Apple IDs can also be created if you federate Apple Business Manager with an Azure AD or Google Workspace user directory. The users in that directory can then use their Azure AD or Google credentials as Managed Apple IDs. Apple explains how that works here. One use-case where that can be useful: When you want to implement user-based enrollment.
Devices and Assignment History
Managing devices—and, crucially, connecting them to your device-management service—is where Apple Business Manager really earns its central place in an Apple admin’s heart.
Adding devices to Apple Business Manager guarantees that the device is owned and managed by your business instead of the employee; that, in turn, means you can supervise that device. Devices tied to your Apple Business Manager account are easier to deploy to end-users, thanks to features like Automated Device Enrollment and mandatory, non-removable MDM profiles. (Automated Device Enrollment used to be referred to as DEP enrollment, as it was a feature of the Device Enrollment Program before it was integrated into Apple Business Manager in 2018.)
 ADE, in turn, enables zero-touch deployments, so you can set up and ship devices for new employees without physically touching them; when the device is unboxed and activated, the device can be automatically enrolled into your device management solution, with the settings and apps you want in place and ready to go. ADE also enables security tools such as device-based activation lock bypass.
For all this to happen, you must first link your MDM solution to your Apple Business Manager account. The specifics for doing so will vary by solution. (Kandji’s instructions are here.) But the general workflow is: Add an MDM server to your Apple Business Manager account, upload a public key certificate that your MDM provides to Apple Business Manager, then download a token that Apple Business Manager provides and upload that to your device management solution. (One reason Apple requires Managed Apple IDs for admins is so an organization can still update its tokens if the original manager can’t—if, say, that person leaves the company.)
Adding Devices to Apple Business Manager
There are two ways to get devices into your account: Buy them directly from Apple or an authorized reseller or enroll them using Apple Configurator.
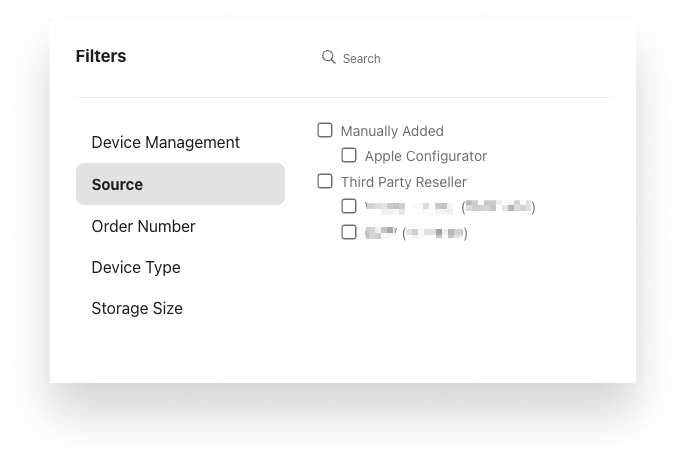
If you buy them from Apple or an authorized reseller, Apple Business Manager will automatically match devices to your account—but only if you added your Apple customer number (if you bought from Apple) or the reseller’s ID (if you bought from another vendor). That’s why we suggested you do so above.
The other way to get devices into Apple Business Manager is by using Apple’s Configurator app. It’s available on iOS and on Mac. (The latter enrolls iOS and iPadOS devices only.) Devices added using Configurator are placed in a special group in the Devices section of Apple Business Manager.
One significant difference between devices added to Apple Business Manager by purchase and by Configurator: The latter behave like those you purchase directly from Apple or an authorized reseller, in that they can be automatically enrolled in your MDM solution and supervised by default. But their users have a 30-day provisional period in which they can release the device from supervision. Devices must be erased before they can be enrolled via Configurator, so it’s not a great option for devices that are already in use.
Once you’ve added devices to Apple Business Manager, they need to be assigned to an MDM server. You can set defaults for associating new devices to a specific server, which makes it easier to assign devices in batches. You can do this by device type if you wish—managing iOS devices on one server and Mac computers on another.)
Alternatively, you can manually assign new devices to an MDM server, using their serial numbers (OK for smaller batches), order numbers (for larger ones), or by copying and pasting the contents of a CSV file in the Device’s section search field.
Apps and Books and Custom Apps
As with devices, Apple Business Manager also works hand-in-hand with your device-management solution when it comes to managing apps and other content. This is a two-step process.
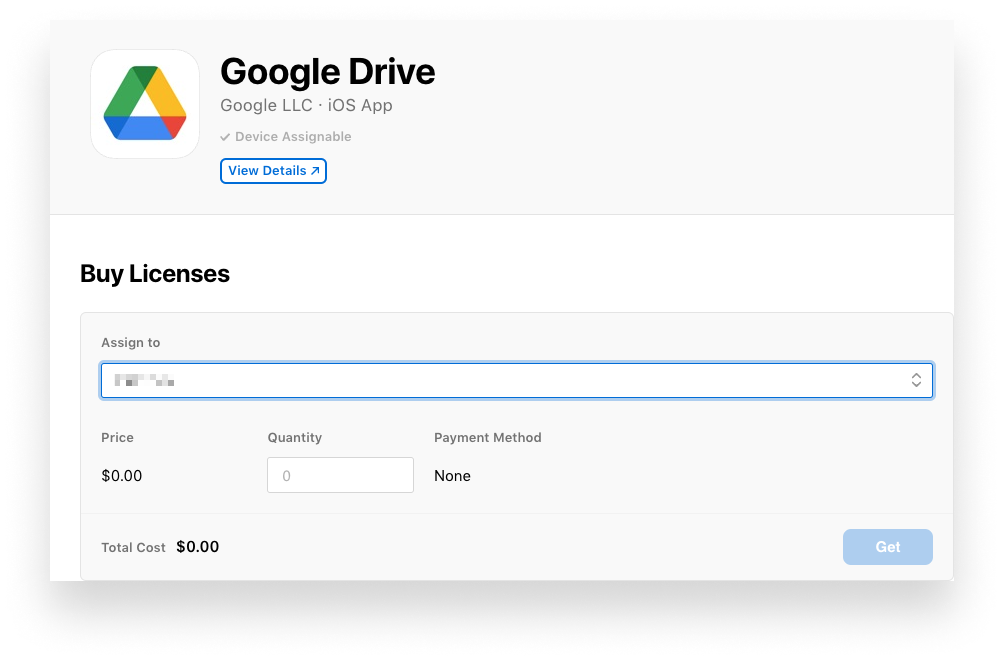
First, you obtain App Store software licenses (paid or free) in Apple Business Manager. (If you’ve been managing Apple devices for a while, you might remember when this was managed through the Volume Purchase Program, or VPP.) This purchasing process is the province of those who’ve been given the content manager role in Apple Business Manager; they’re the ones who can purchase and distribute content. Content managers can be tied to specific locations and so manage app distribution there. (See Apple’s explanation of content management and locations for more details.)
 Second, you use your device-management solution to assign and install those licensed apps to devices. You’ll have to download a specific content token from Apple Business Manager to your MDM; Apple explains how here. The specifics of this process depend on the device-management solution you use. In Kandji, we manage it through Blueprints: Groups of devices assigned to a given Blueprint can get apps along with configuration profiles and parameters; any device enrolled in that Blueprint gets the assigned apps. (See here for more details.)
Apple Business Manager won’t help you distribute apps that aren’t in the App Store, with one exception: Apple Custom Apps, which are technically in the App Store but are reserved for a specific organization by the app’s developer.
The bottom line: Apple Business Manager is an essential—and free—tool for any Mac admin. It requires a bit of planning and preparation upfront, so be sure to give yourself enough time for that. But once it’s set up, there’s little to do but make sure tokens don’t expire and that devices are correctly assigned.
Benefits of Using Apple Business Manager with MDM
In addition to the features listed above, using Apple Business Manager in conjunction with an MDM solution has some great benefits.
One of the most important is that it proves to Apple and the world that your organization owns your devices. That, in turn, allows for device supervision, which unlocks commands, payloads, and restrictions for your MDM solution. For more on that, we refer you again to our post “Reasons to Use Apple Business Manager.”
Additionally, while Apple Business Manager doesn’t offer the level of reporting you’d find in an MDM solution such as Kandji, it does have a powerful search engine and print-friendly interface. That helps with things like viewing every single device in your account, including its specs.
Apple Business Manager can also help with your compliance program, by letting you view and supervise certifications, which it maintains according to the ISO/IEC 27001 and 27018 standards.
Connecting Apple Business Manager to your MDM solution also allows for device-based Activation Lock, which makes it harder to use or sell a stolen Apple device. That connection also allows you to lock MDM on supervised devices. And it’s required for Lost Mode, which allows you to track and secure managed devices that go missing.
The final—and perhaps best—reason for using Apple Business Manager: It doesn’t cost a thing. You get all of the features listed above—and more—for free.
About Kandji
Kandji integrates tightly with Apple Business Manager, as well as a host of other management and security tools that can make work-life better for you and your users. With a suite of features like zero-touch deployment, one-click compliance, and offline remediation, Kandji is already a great way to enroll, configure, and secure your devices, and we look forward to creating new functionality as the SSO landscape evolves.
This article was substantially updated February 14, 2023.

Start your free trial today
The industry’s first MDM with a pre-built library of security controls.
Request Access


