How to Draw an Apple
In this drawing lesson I want to tell you how to draw an apple. You’ll enjoy this tutorial because it’s very simple and consists of just nine steps.
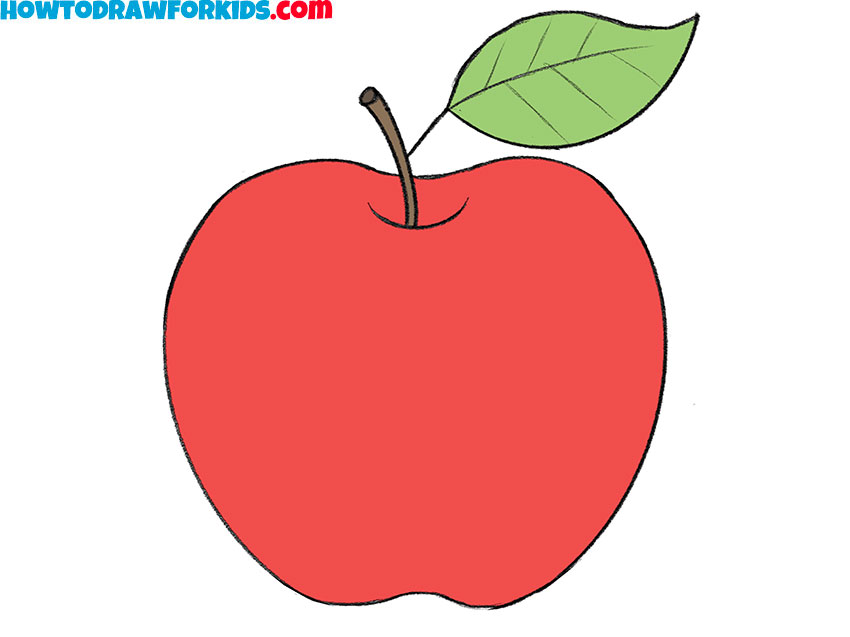
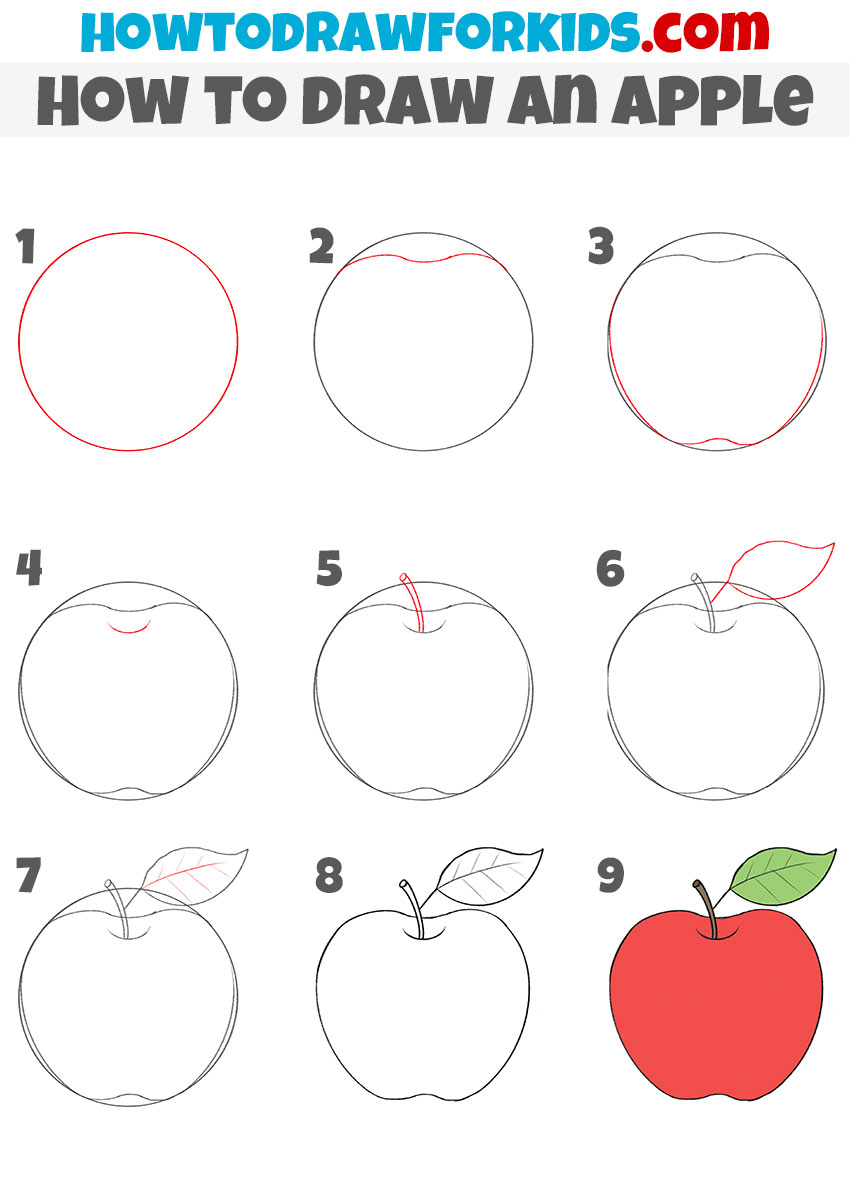
So, using this lesson, you will learn how to draw an apple very nicely. I hope that you will be able to do the job easily.
This fruit is considered to be very tasty and healthy. Apples are a member of the rose family of plants, which also includes pears, peaches, cherries, and plums. There are more than 7,500 apple varieties in the world.
Let’s start drawing an apple step by step. I promise that by following these instructions you will be able to draw this fruit perfectly!
Materials
- Pencil
- Paper
- Eraser
- Coloring supplies
Time needed: 20 minutes.
How to Draw an Apple
- Draw an auxiliary outline.
First outline a circle – it will be the base of the apple you are going to draw.

- Add the top outline of the apple.
To complete this step, draw a wavy line at the top of the previously drawn circle.

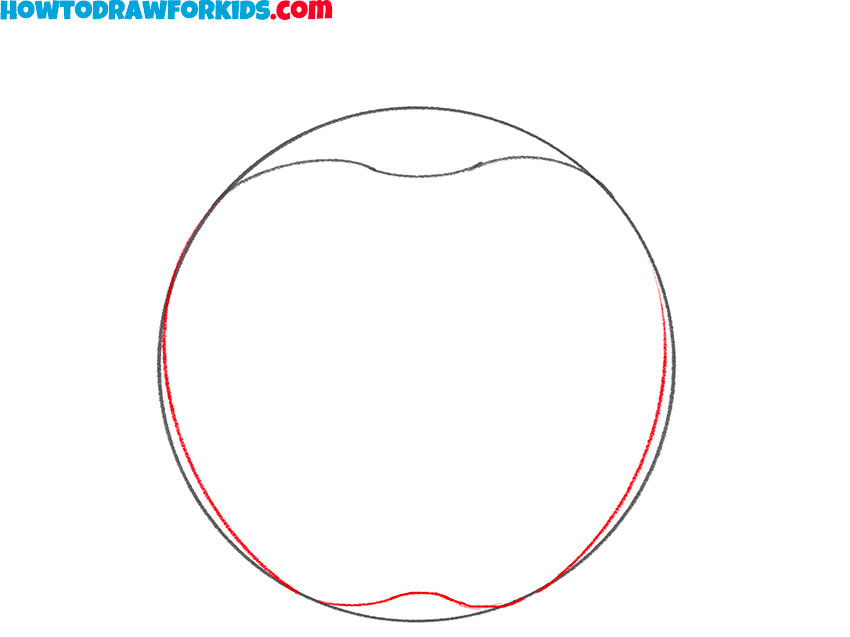
- Draw the bottom outline of the apple.
Use the curved line to draw the sides and bottom of the apple.
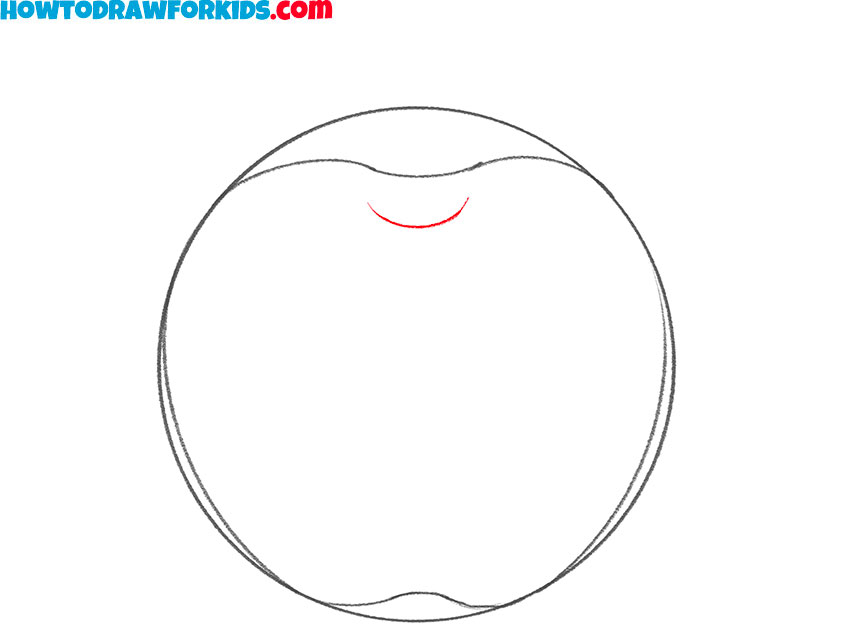
- Add one more element.
Draw a curved line at the top of the apple to make it look three-dimensional.
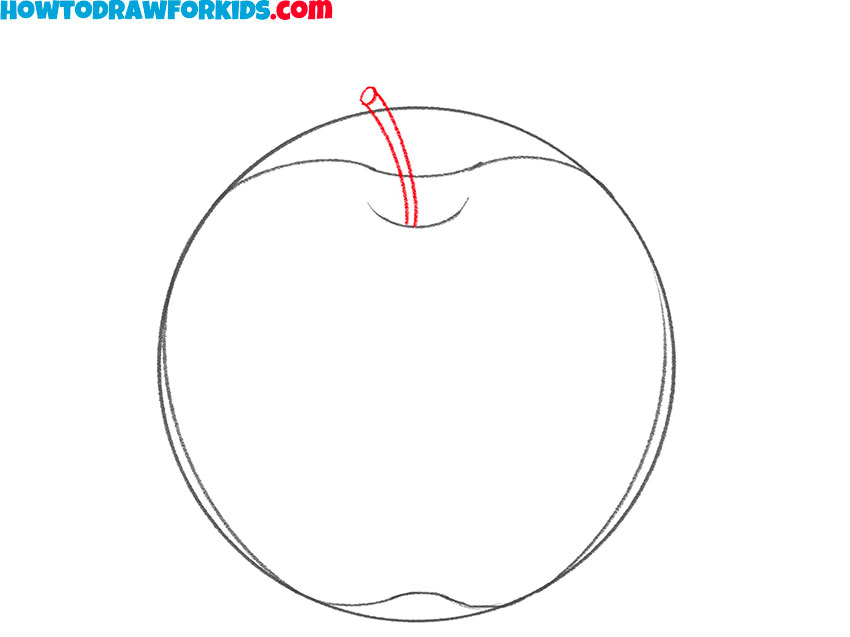
- Depict the stalk of fruit.
Add this detail to the top of the apple, using a few curved lines.
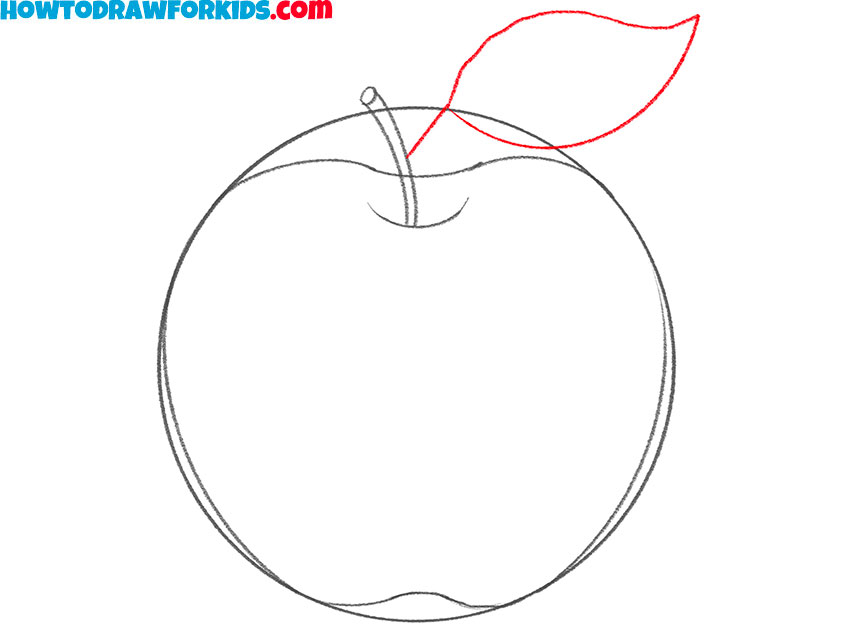
- Draw the leaf.
Add a pointed leaf to the previously drawn stalk using curved lines.
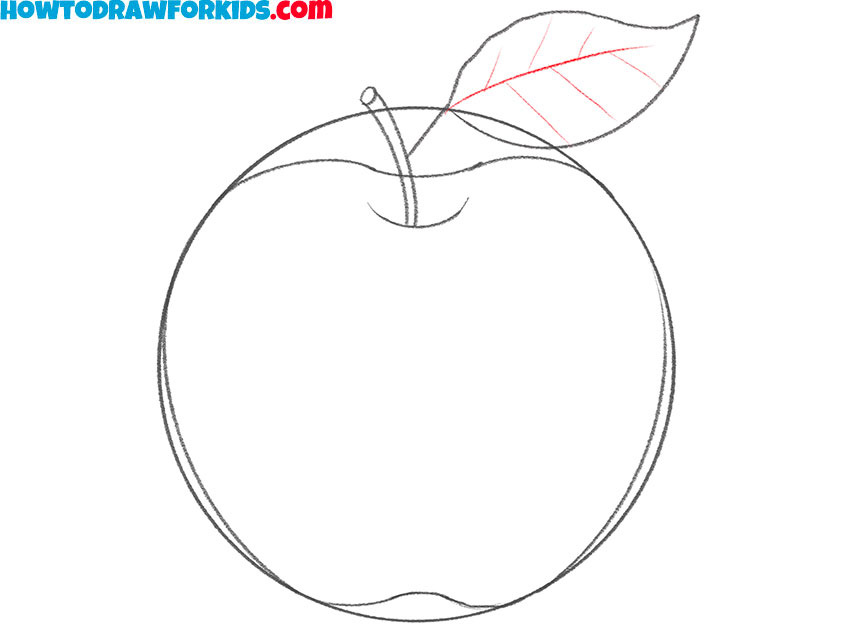
- Paint the veins on the leaf.
Add straight and curved lines to the previously drawn leaf.
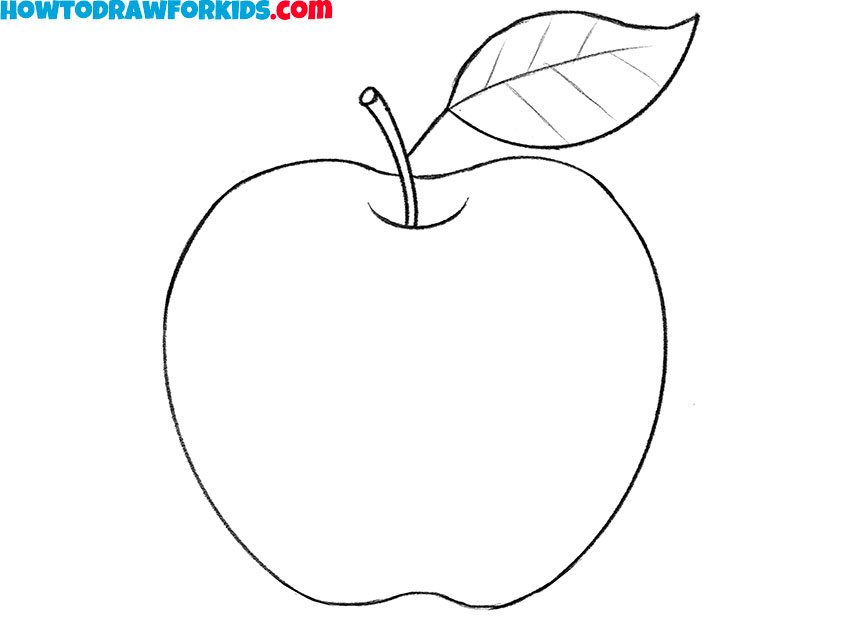
- Erase the auxiliary lines.
Remove any unnecessary lines from the drawn apple with an eraser.
- Color the drawing.
You can use red, brown, and green to color the apple.
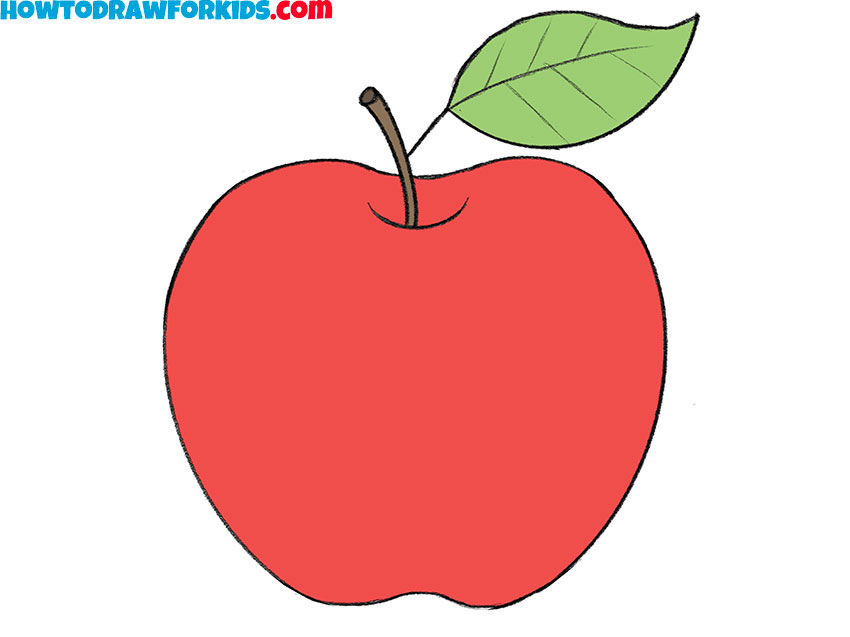
Good job! This drawing is ready! I think you have really tried hard and now you have a great result! Did you manage to draw the apple as shown in my example? Please share your impressions of this tutorial in the comments. Also, don’t forget to subscribe to us on social media. You can download the PDF version of this guide, which comprises the steps set forth above, and some interesting and useful additions.


