How to Protect Your Apple iPhone Notes
Mục Lục
The iPhone Notes app is handy, but it might not be as private as you think.
In today’s digital age, keeping your personal information secure is more important than ever. There are a lot of handy iPhone hacks and tricks you can use for convenience and productivity, and the Notes app is one of the most useful tools. It’s a handy way to use your iPhone to jot down information such as to-do lists, contact information, shopping lists and more. Many people even use it to store sensitive information such as passwords and personal thoughts.
It goes without saying that this kind of data is best kept private. Leaving these notes unprotected can pose a significant security risk, as anyone who gains access to your phone can easily view them.
But worry not, iPhone users, because protecting your Notes app is pretty straightforward. This guide will show you how to password-protect notes on your iPhone so you can keep your personal information safe and secure. Below, you’ll find simple steps to enable protection as well as some details about the other security features at your disposal.
How Does Apple Protect Notes?
Apple provides only basic default security to protect the data stored in the Notes app on your iPhone. When locked, your iPhone locks Notes like any other app, requiring whatever security check you use to unlock your device. This could be with Face ID on newer iPhones, Touch ID on older models or a simple passcode that you enter manually when prompted.
Apple’s default security provides only basic protection for your notes. However, there are additional steps you can (and should) take to ensure the highest level of security for your sensitive information.
How Can I Further Protect My Apple Notes?
One way to add an extra layer of security to your Apple Notes is to enable two-factor authentication for iCloud. This prevents unauthorized access by notifying you when somebody attempts to log into your iCloud. When this happens, you’ll receive a prompt requiring you to either approve or deny the attempt. Apple Notes also has an optional “On My iPhone” account that stores notes on your device rather than syncing them to iCloud. This adds an extra layer of security, as your notes won’t be accessible through your iCloud account or any other devices you may own.
Apple recently released a feature called Advanced Data Protection for iCloud. You can activate this in your iCloud settings, then follow the instructions to set up data recovery in case you ever lose access to your account. With Advanced Data Protection for iCloud, notes that you lock with a password or biometric authentication are fully encrypted. This means that your iPhone scrambles the data so that even if stolen, it is unreadable. Only the correct passcode or biometric authentication can decrypt the data.
If Notes is accessible from your lock screen’s Control Center, it’s a good idea to remove it and hide other apps on your iPhone as well. The final security measure you should take is to set up password protection for your notes. This is particularly important if you use Notes to store sensitive information such as passwords or financial details. You can do this easily by following the steps laid out below.
How to Lock Notes on Your iPhone

You already need to use a passcode, Face ID or Touch ID to unlock your iPhone to access the Notes app. If you want another layer of security, however, you can require a passcode or biometric ID check to lock the notes you’ve created. Here’s a step-by-step guide on how to lock the notes on your iPhone:
- Open the Settings app on your phone and navigate down to “Notes.”
- Tap on “Notes” and then tap on “Password.”
- If prompted, tap “Use iPhone Passcode” to access password settings. You may have to turn in iCloud Keychain as well. If prompted to do this, you can do so in Settings > [Your Name/Profile] > iCloud > Passwords and Keychain.
- You now have the option to either unlock your notes using your iPhone’s passcode, or you can create a separate password for your notes. If you have Touch ID or Face ID enabled on your device, you can also choose to use biometric authentication to lock your notes.
- Once you’ve set your password and biometric authentication preferences, open the Notes app and navigate to the note that you want to lock.
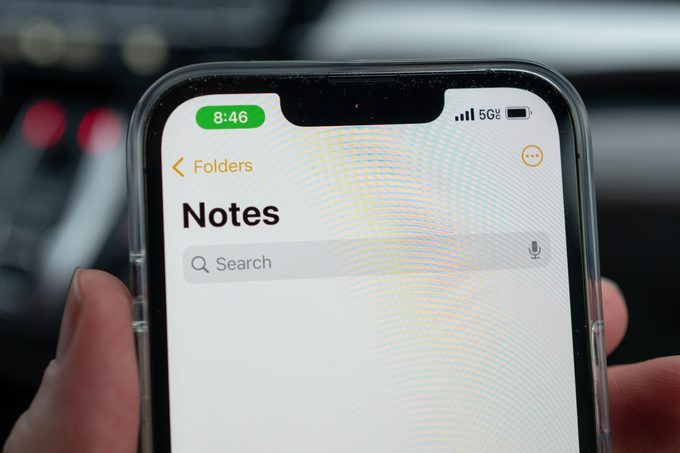
- Tap on the icon in the upper right-hand corner (the circle with three dots) and then tap on “Lock.” You’ll then enter your password or use biometric authentication to lock the note.
- Once you’ve entered the correct password or biometric information, you’ve locked the note. After this, you’ll need to unlock the note using your passcode or Face ID/Touch ID to view its contents.
That’s all there is to it. Now you can add an extra security check to certain notes, even after you’ve unlocked your iPhone and opened the Notes app.


