
Apple ID Login: 9 Ways to Fix the Error Connecting to Apple ID Server Message (iOS 16)
Mục Lục
What to Know
- The issue is often resolved by installing software updates, restarting your iPhone, and checking your internet connection.
- Sometimes the issue isn’t your device! Quickly check Apple’s System Status page to confirm this.
This article will tell you what to do if you encounter an error connecting to the Apple ID server. Have you ever tried to log in to your iCloud account, use your iTunes login or App Store login, or use any other Apple ID login, and gotten an “Error Connecting to Apple ID, Verification Failed” message? Don’t worry; we have nine troubleshooting steps you can take if you receive this Apple ID verification failed error message. Let’s get started.
Follow These Steps to Fix Apple ID Login Error:
We strongly recommend following the steps in order for best results. However, if you’ve already tried certain steps, we won’t make you scroll all the way back through them! Use the links below for quick navigation.
1. Retry Your App Store, iTunes Store, or other Apple Services Login
Let’s go through nine things you can do if you’re getting the “Error Connecting to Apple ID, Verification Failed” message. First, if you’ve been trying to sign in with your Apple ID and received an error message, the easiest thing to do is to close out the app and try to log in again in a few minutes. Sometimes that’s all it takes! If you haven’t had success and your Apple verification failed again, work down our list of other troubleshooting tips in order. For more guides on managing your various Apple services and logins, be sure to sign up for our free Tip of the Day newsletter.
2. iPadOS & iOS Update: Get the Latest Apple Software Update
It’s a good idea to install the newest iOS update as soon as possible to improve device security and avoid bugs and glitches. The first thing you should do if you’re getting the “Error Connecting to Apple ID, Verification Failed” message is to make sure that the software for your device is updated. Some people, however, have reported seeing the Apple ID error message after updating their software, so if this hasn’t fixed the problem, keep reading.
3. Make Sure You’re Connected to the Internet
If the device you’re using isn’t connected to the internet, you won’t be able to access your Apple services. Make sure that your iPhone or iPad is connected to the internet via a stable Wi-Fi or Cellular network. If this doesn’t fix it, move on to our next suggestion.
4. Check the Apple System Status Page
The problem might not be within your control at all; it might be on Apple’s end! Visit the Apple System Status Page and make sure the service you’re trying to sign into is available. You’ll be able to tell because there will be a green dot next to the system name.
5. Change Your Apple ID Password
It’s a good idea to change your Apple ID password from time to time. If the password hasn’t been changed in a while, or isn’t up to Apple’s current recommendations, go ahead and change your Apple ID password.
Related: How to Use Sign in with Apple
6. Check Your Device’s Date & Time Settings
One issue that can cause the offending error message is a problem with your device’s date, time, and location settings.
How to Check your Device’s Date & Time Settings
- Open the Settings app.
- Tap General.
- Tap Date & Time.
- Toggle on Set Automatically. If this is already toggled on, turn it off, then on again.
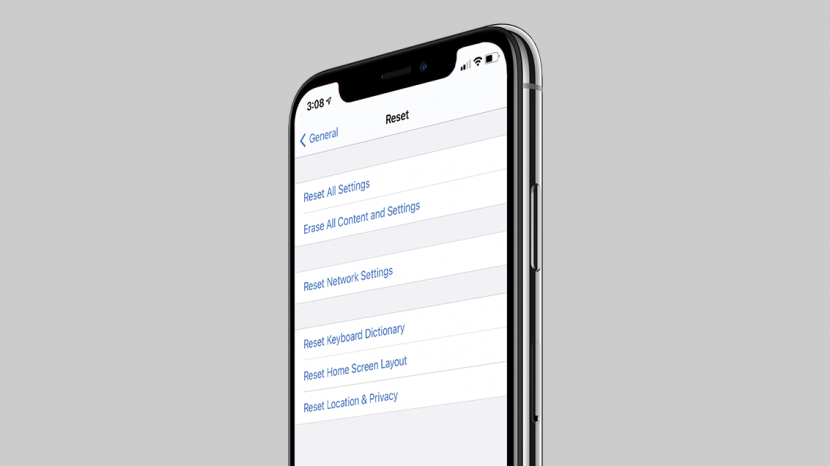
7. Do a Network Settings Reset
If it seems like you can’t connect to your Apple services because your device won’t connect to the internet, and you’ve already checked your Wi-Fi or cellular connection, it’s time to do a Network Settings Reset. This will reset your Cellular settings, and you’ll need to sign back into any Wi-Fi networks you’ve joined in the past.
How to Reset Your Network Settings
- Open the Settings app.
- Tap General.
- Scroll to the very bottom and tap Transfer or Reset iPhone.
- Tap Reset.
- Tap Reset Network Settings.
- Confirm by entering your Passcode.
8. Force Restart Your iPhone
The penultimate step for every iPhone problem is resetting or force-restarting your device. If the previous steps have failed, you’ll need to try a force restart.
9. Contact Apple Support
If all else fails, there’s always Apple Support. Follow the support link and click or tap on the device that you’re using, and you’ll be able to connect to an Apple associate via phone, email, or chat. Alternately, if you live near enough to an Apple Store, just drop by and ask for assistance.


